Allergy Friendly Butterscotch Bars
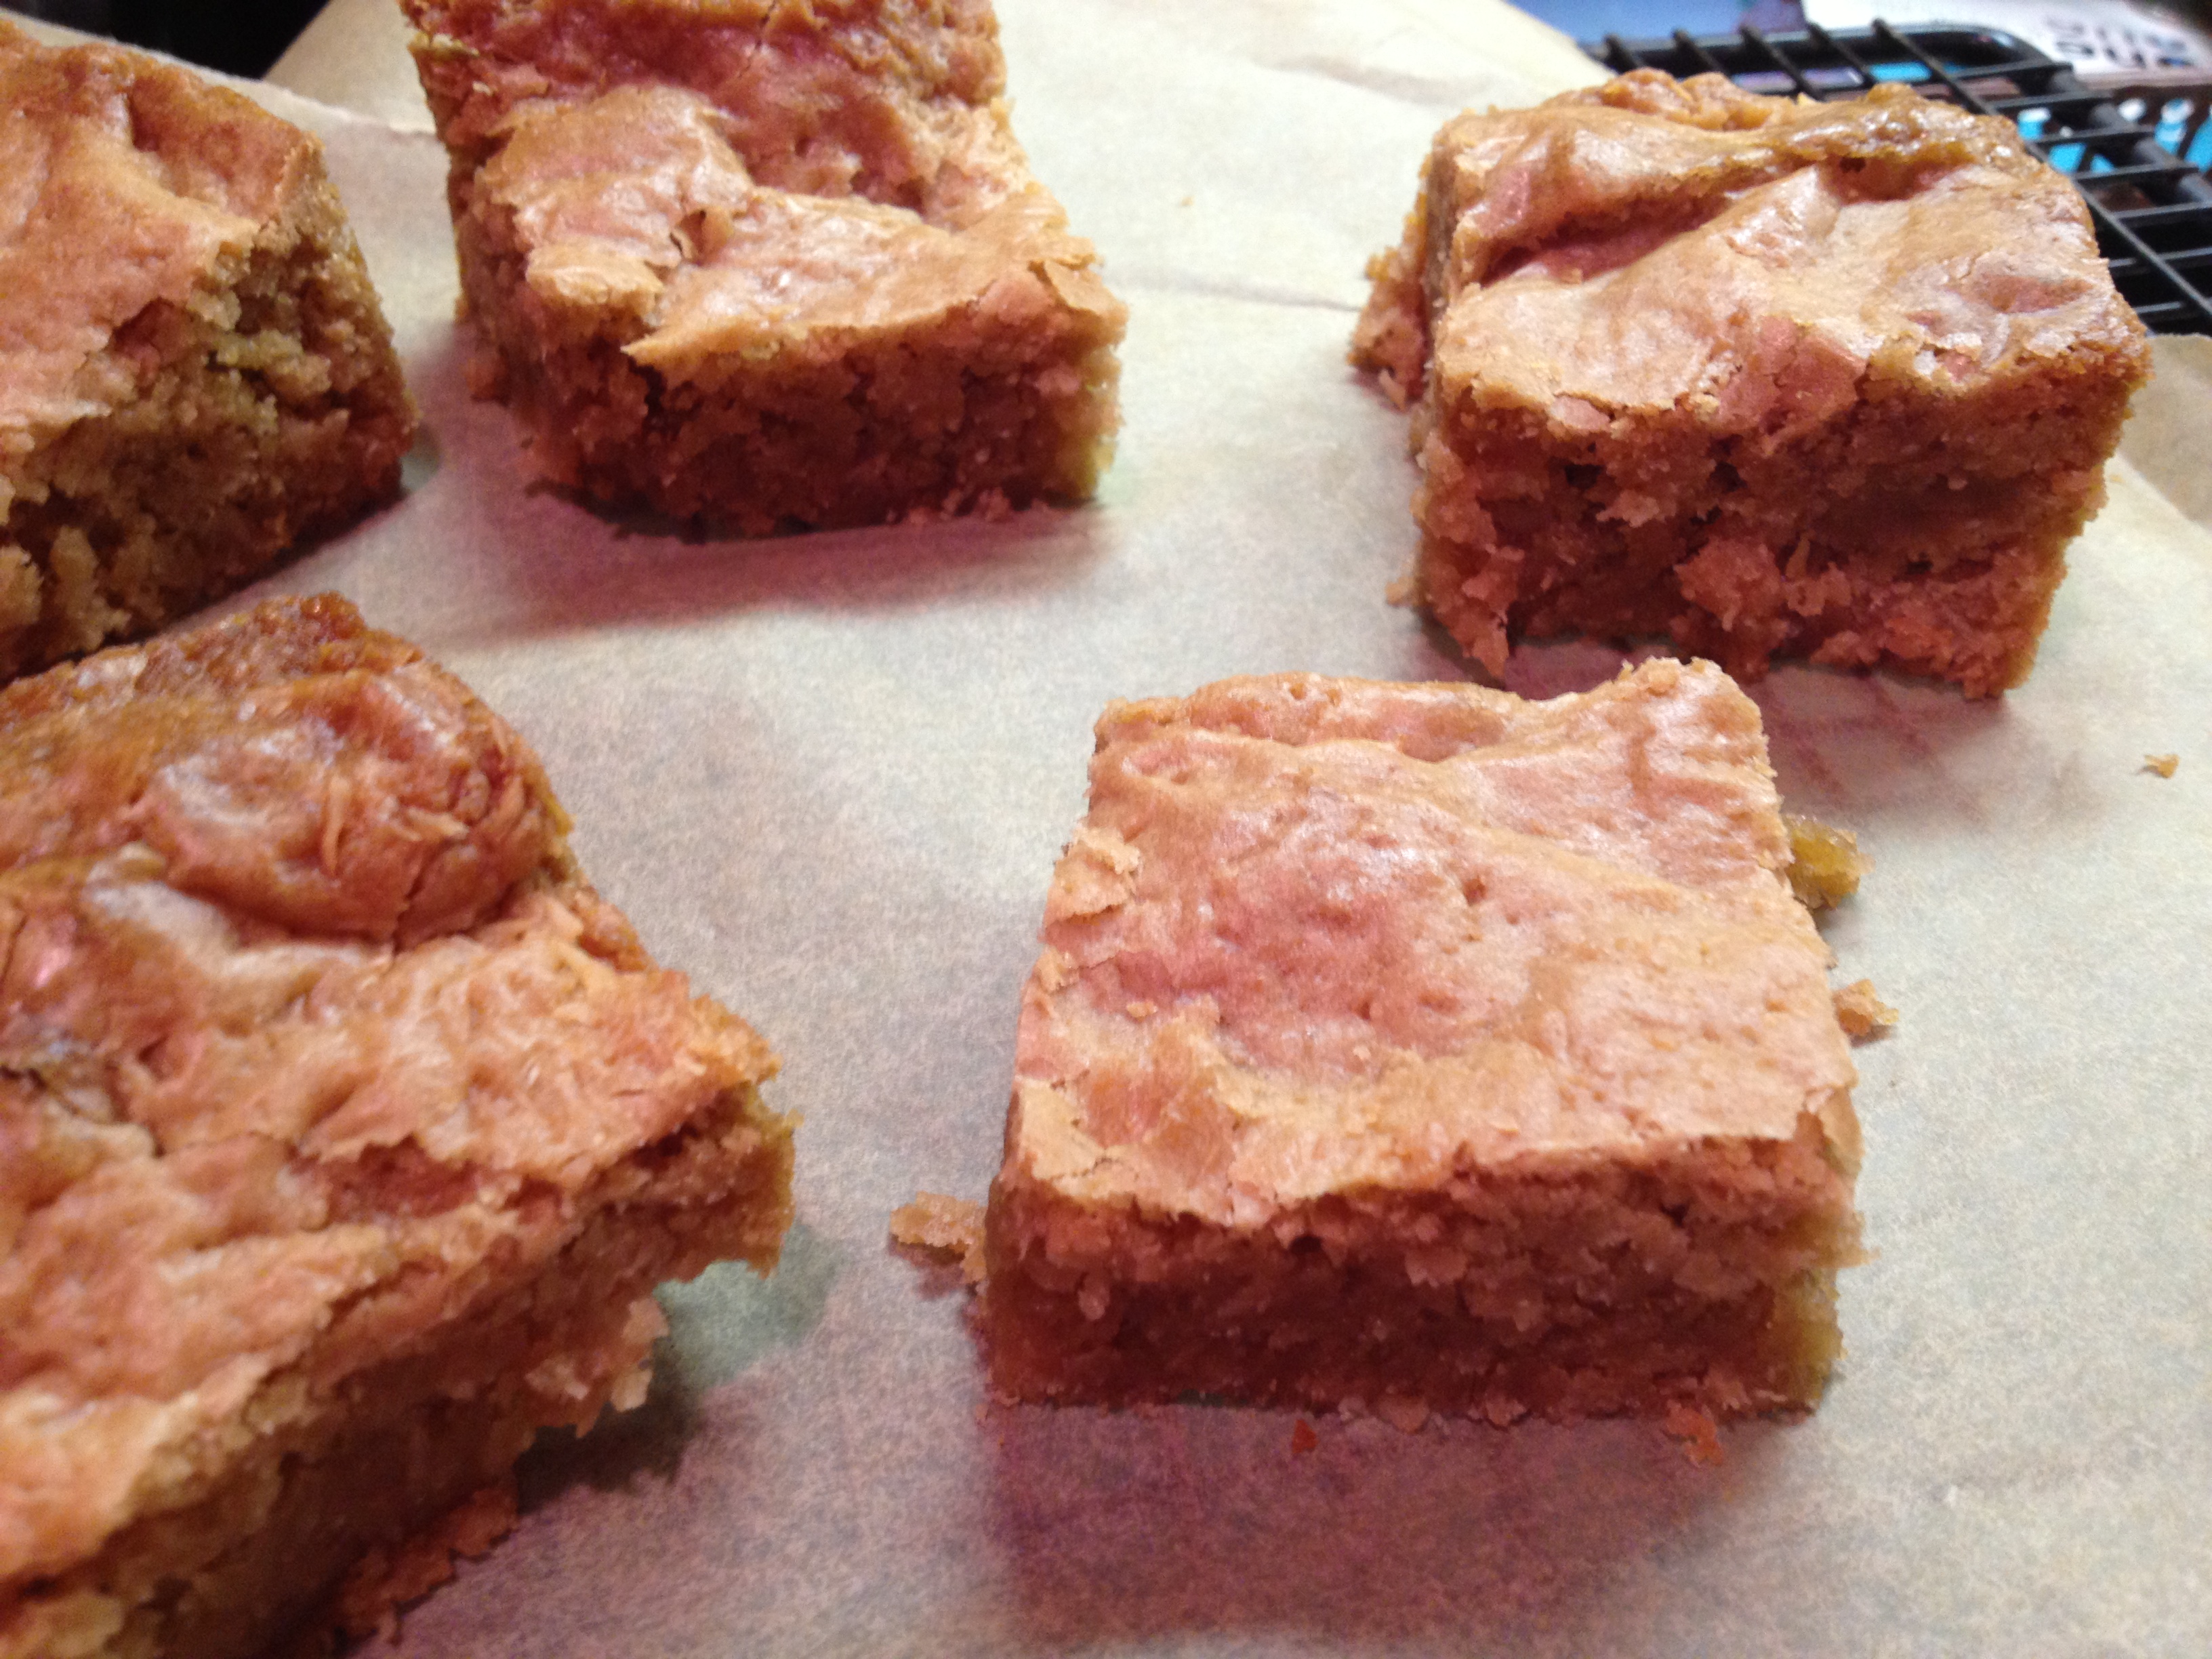
Allergy-Friendly Butterscotch Bars
With a lack of allergy-friendly butterscotch chips on the market, I decided to create a homemade butterscotch base that would fulfill our sweet cravings. If you can use butter, feel free to substitute, but Earth Balance Buttery Spread makes darn good butterscotch for these moist and chewy bars. Please note that shortening isn’t a suitable replacement, since it doesn’t emulsify when heated.
Make these gluten-free, top 8 allergen-free, vegan bars of heaven for your end of summer picnics, or to send along to school for parties for a treat that will truly “wow” the whole class!
Makes 16 2-inch bars
Free of: gluten and all top allergens
2 cups packed light brown sugar
½ cup dairy-free, soy-free margarine / buttery spread
1 tbsp Ener-G egg replacer mixed with ¼ cup canned coconut milk (shaken to distribute coconut cream)
1 tsp vanilla extract
2 cups my Basic Gluten-Free Flour Mix or Authentic Foods GF Classical Blend
2 tsp double-acting baking powder
½ tsp xanthan gum
¼ tsp salt
1 cup shredded unsweetened coconut
1. Combine brown sugar and margarine in a heavy pot over very low heat. Cook while stirring continuously until melted and just starting to bubble, about 10 minutes. Don’t rush or you risk burning the sugar. Remove from heat and let cool for 30 minutes, stirring occasionally to prevent the sugar from setting up. It will become thick, like caramel.
2. Preheat oven to 350° F. Grease an 8×8-inch pan.
3. Using an electric mixer on medium-high speed beat in egg replacer until creamy. Mix in vanilla.
4. In a separate bowl, whisk together the flour blend, baking powder, xanthan gum and salt. Add dry ingredients to pot with butterscotch and mix on low speed until fully incorporated. Add coconut and mix until well-distributed.
5. Transfer dough to the prepared pan. Press dough to edges of pan and smooth into an even layer; it will be very sticky and dense.
6. Bake 30 minutes in center of oven, or until the dough has a rich golden hue, glossy top and is just beginning to pull away from edges of pan. Set on a wire rack and let cool completely in the pan. Use a serrated knife to cut into squares.
Allergy Friendly Butterscotch Bars © 2013 by Cybele Pascal
This recipe first appeared in the Holiday 2013 issue of Allergic Living Magazine
Allergy Friendly Oven Fried Chicken

“Buttermilk” Oven-Fried Chicken
Serves 4 to 6
Free of: Gluten and all top allergens.
Oven-baked chicken is much lower in fat, but the skin never fully crisps like deep-fried chicken. The solution: remove the skin – cutting fat even further. This allows the chicken to better absorb the marinade, for the breading to adhere to the surface, and it creates a much better texture when served at room temperature or cold.
1 cup (250 mL) plain rice milk
1 1/2 tbsp lemon juice
2 garlic cloves, minced or crushed
1/2 tsp + big pinch salt, divided
freshly ground pepper
3 tbsp olive oil
3 pounds (1.5 kg) chicken parts – drumsticks, thighs and bone-in split breasts (cut in half crosswise), skin removed.
3 cups (710 mL) gluten-free corn flakes (such as Erewhon brand) or 1 cup gluten-free bread crumbs (I use Ener-G)
1/2 cup (120 mL) dairy-free, soy-free mozzarella cheese alternative (I use Daiya)
1/4 tsp cayenne pepper
1/4 cup (60 mL) dairy-free, soy-free buttery spread (I use Earth Balance), melted
1. In a large shallow dish whisk together rice milk, lemon juice, garlic, 1/2 tsp salt and a few turns of freshly ground pepper. Drizzle in oil, a little at a time, while whisking to combine.
2. Add chicken to rice milk mixture. Turn to coat. Cover tightly and refrigerate at least 4 hours or overnight.
3. Grind cornflakes into a fine crumb in a blender or food processor. Transfer crumbs to a wide shallow bowl.
4. Pulse cheese alternative in a blender or food processor until it’s the texture of grated Parmesan. Add the grated cheese alternative to the crumbs, as well as cayenne, big pinch of salt and a few turns of ground pepper. Toss to combine.
5. Arrange a rack on top of a large baking pan. Remove chicken from marinade, allowing excess to drip off, turn in crumb mixture to coat and place on rack. Repeat with all chicken pieces. Let chicken dry on rack for 15 minutes.
6. Preheat oven to 425° F. Arrange the chicken on a lightly greased baking pan. Drizzle with buttery spread. Bake 40-45 minutes or until golden and crispy. Serve hot or at room temperature.
“Buttermilk” Oven-Fried Chicken © 2013 by Cybele Pascal
This recipe first appeared in the Summer 2013 issue of Allergic Living Magazine
Allergy Friendly Lemonade Cake

Allergy-Friendly Lemonade Cake
Makes 12 ample servings
Free of: gluten and all top allergens
Tart, sweet and the perfect finish to a summer meal, get ready to fall in love with this old-fashioned cake. It can be made a day in advance and lasts for several days, covered at room temperature, but good luck keeping it around that long!
Ingredients
¼ cup frozen lemonade concentrate, thawed
½ cup plain rice milk
¼ cup + 2 tbsp vanilla vegan yogurt (I like So Delicious coconut milk yogurt)
1½ tsp apple cider vinegar
1 tsp lemon zest
2¼ cups Authentic Foods GF Classical Blend or my Basic Gluten-Free Mix
¾ tsp xanthan gum
1⅛ tsp double-acting baking powder
1⅛ tsp baking soda
1⅛ tsp salt
1 cup + 2 tbsp sugar
½ cup + 1 tbsp dairy-free soy-free shortening
2¼ tsp vanilla extract
3½ tsp Ener-G Egg Replacer mixed with 4½ tbsp plain rice milk
1 recipe Lemonade Buttercream Frosting (recipe follows)
Method
1. Preheat oven to 350°F. Generously grease a 9×13-inch pan with shortening.
2. Combine lemonade concentrate, rice milk, yogurt and vinegar in a small bowl. Add zest, and set aside.
3. Measure flour mix by spooning flour into a dry measuring cup, then leveling it off with a straightedge. Whisk flour mix with xanthan gum, baking powder, baking soda and salt in a medium bowl. Set aside.
4. Add sugar and shortening to the bowl of a stand mixer fitted with the paddle attachment. Mix on medium speed for 2 minutes. Add vanilla and egg replacer mixture. Mix on medium speed 1 minute more.
5. Sift the flour mixture into the bowl of the stand mixer in three batches, alternating with the lemonade mixture, mixing after each addition to combine. Transfer batter to the prepared pan, and use an offset spatula to even out.
7. Bake in center of oven 20 minutes until the cake is starting to pull away from sides of pan, top is a lovely golden color, and a skewer or toothpick inserted into the cake comes out clean.
8. Let cool completely in pan on a cooling rack. Spread with frosting using an offset spatula.
Lemonade Buttercream Frosting
Makes enough to frost one 9×13-inch cake
Free of: gluten and all top allergens
¾ cup dairy-free soy-free shortening
Pinch of salt
¾ pound confectioners’ sugar (2¼ cup + 3 tbsp)
¼ cup frozen lemonade concentrate, thawed
¾ tsp vanilla extract
¾ tsp lemon zest
1. In the bowl of a stand mixer fitted with the paddle attachment, cream shortening and salt on medium speed for 2 minutes.
2. Add sugar in three batches, beating after each addition. It will be crumbly. Add lemonade concentrate, vanilla and zest. Beat on medium speed until smooth and fluffy, about 3 minutes.
Allergy-Friendly Lemonade Cake © 2013 by Cybele Pascal
This recipe first appeared in the Summer 2013 issue of Allergic Living Magazine