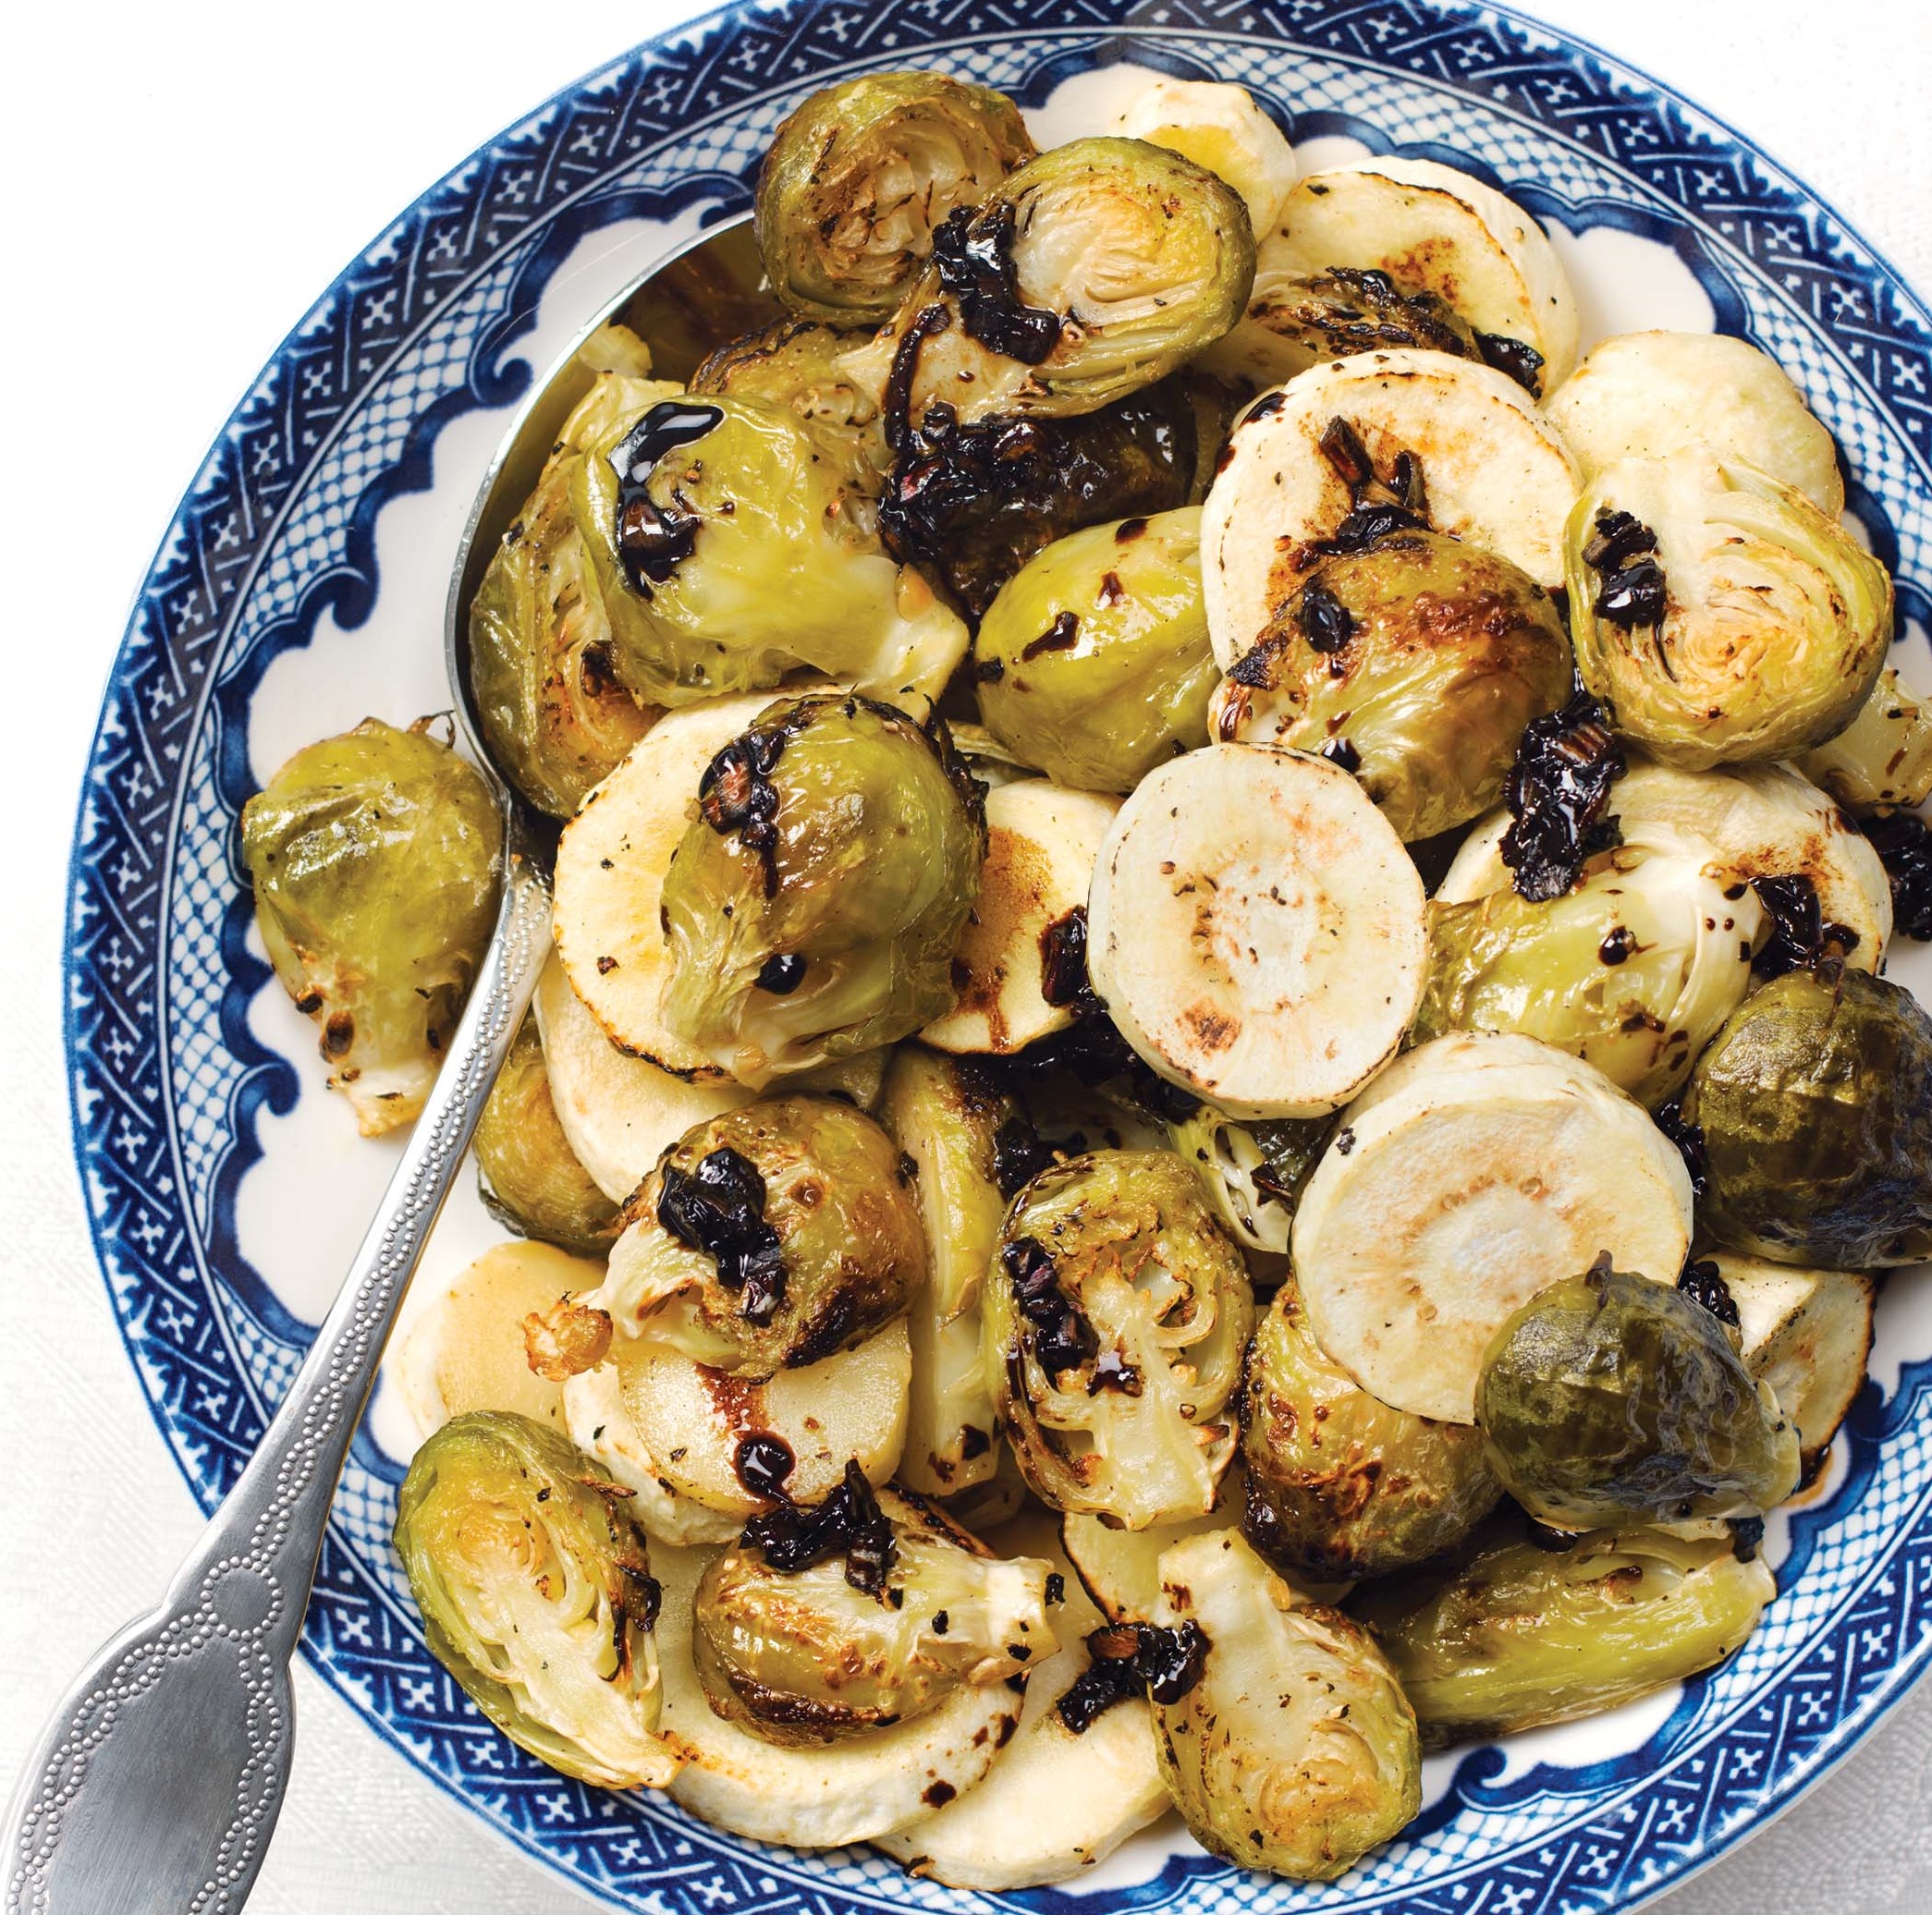
Brussels Sprouts and Parsnips with Balsamic Honey Glaze
Brussels Sprouts and Parsnips with Balsamic Honey Glaze
Makes 6 servings
Free From gluten and all top 8 allergens
Green vegetables are thought to bring affluence in the New Year, as they are the color of money. To triple the prosperity, I’ve combined them here with golden parsnip “coins” and finished with a luxurious sauce. Happy New Year!
2 lbs medium to large brussels sprouts
1 1/2 lbs parsnips, peeled and sliced into 1/2-inch thick rounds
6 tbsp + 1 tsp olive oil, divided
1 tsp kosher salt
1/2 tsp freshly ground black pepper
2 tbsp finely minced shallot (about 1 shallot)
1/4 cup balsamic vinegar
1 tbsp honey
1. Position one rack in the bottom third of oven and a second in the middle. Preheat oven to 450° F. Line 2 large baking pans with aluminum foil.
2. Trim any brown ends off sprouts and remove yellowed leaves. Cut each sprout in half lengthwise.
3. In a large bowl, combine sprouts and parsnips with 6 tablespoons of oil, salt and pepper, and toss well to evenly coat. Divide the seasoned vegetables between the prepared pans and spread into a single layer.
4. Place a pan on the bottom oven rack and the other on the middle. Roast 15 minutes. Stir vegetables, return to the oven, switching rack positions. Roast 10-15 minutes, until sprouts are crispy and browning and parsnips are turning golden.
5. Meantime prepare glaze by heating 1 teaspoon oil in a small pan over medium heat. Add shallots and cook 2 minutes, stirring often, until starting to brown. Add vinegar and honey, increase heat to medium-high and cook at a rapid simmer, stirring often, until syrupy and reduced by half, about 4 minutes.
6. Transfer roasted vegetables to a serving bowl, drizzle with glaze and toss to coat. Serve hot.
Brussels Sprouts and Parsnips with Balsamic Honey Glaze © 2015 by Cybele Pascal
This recipe first appeared in the Winter 2015 issue of Allergic Living Magazine
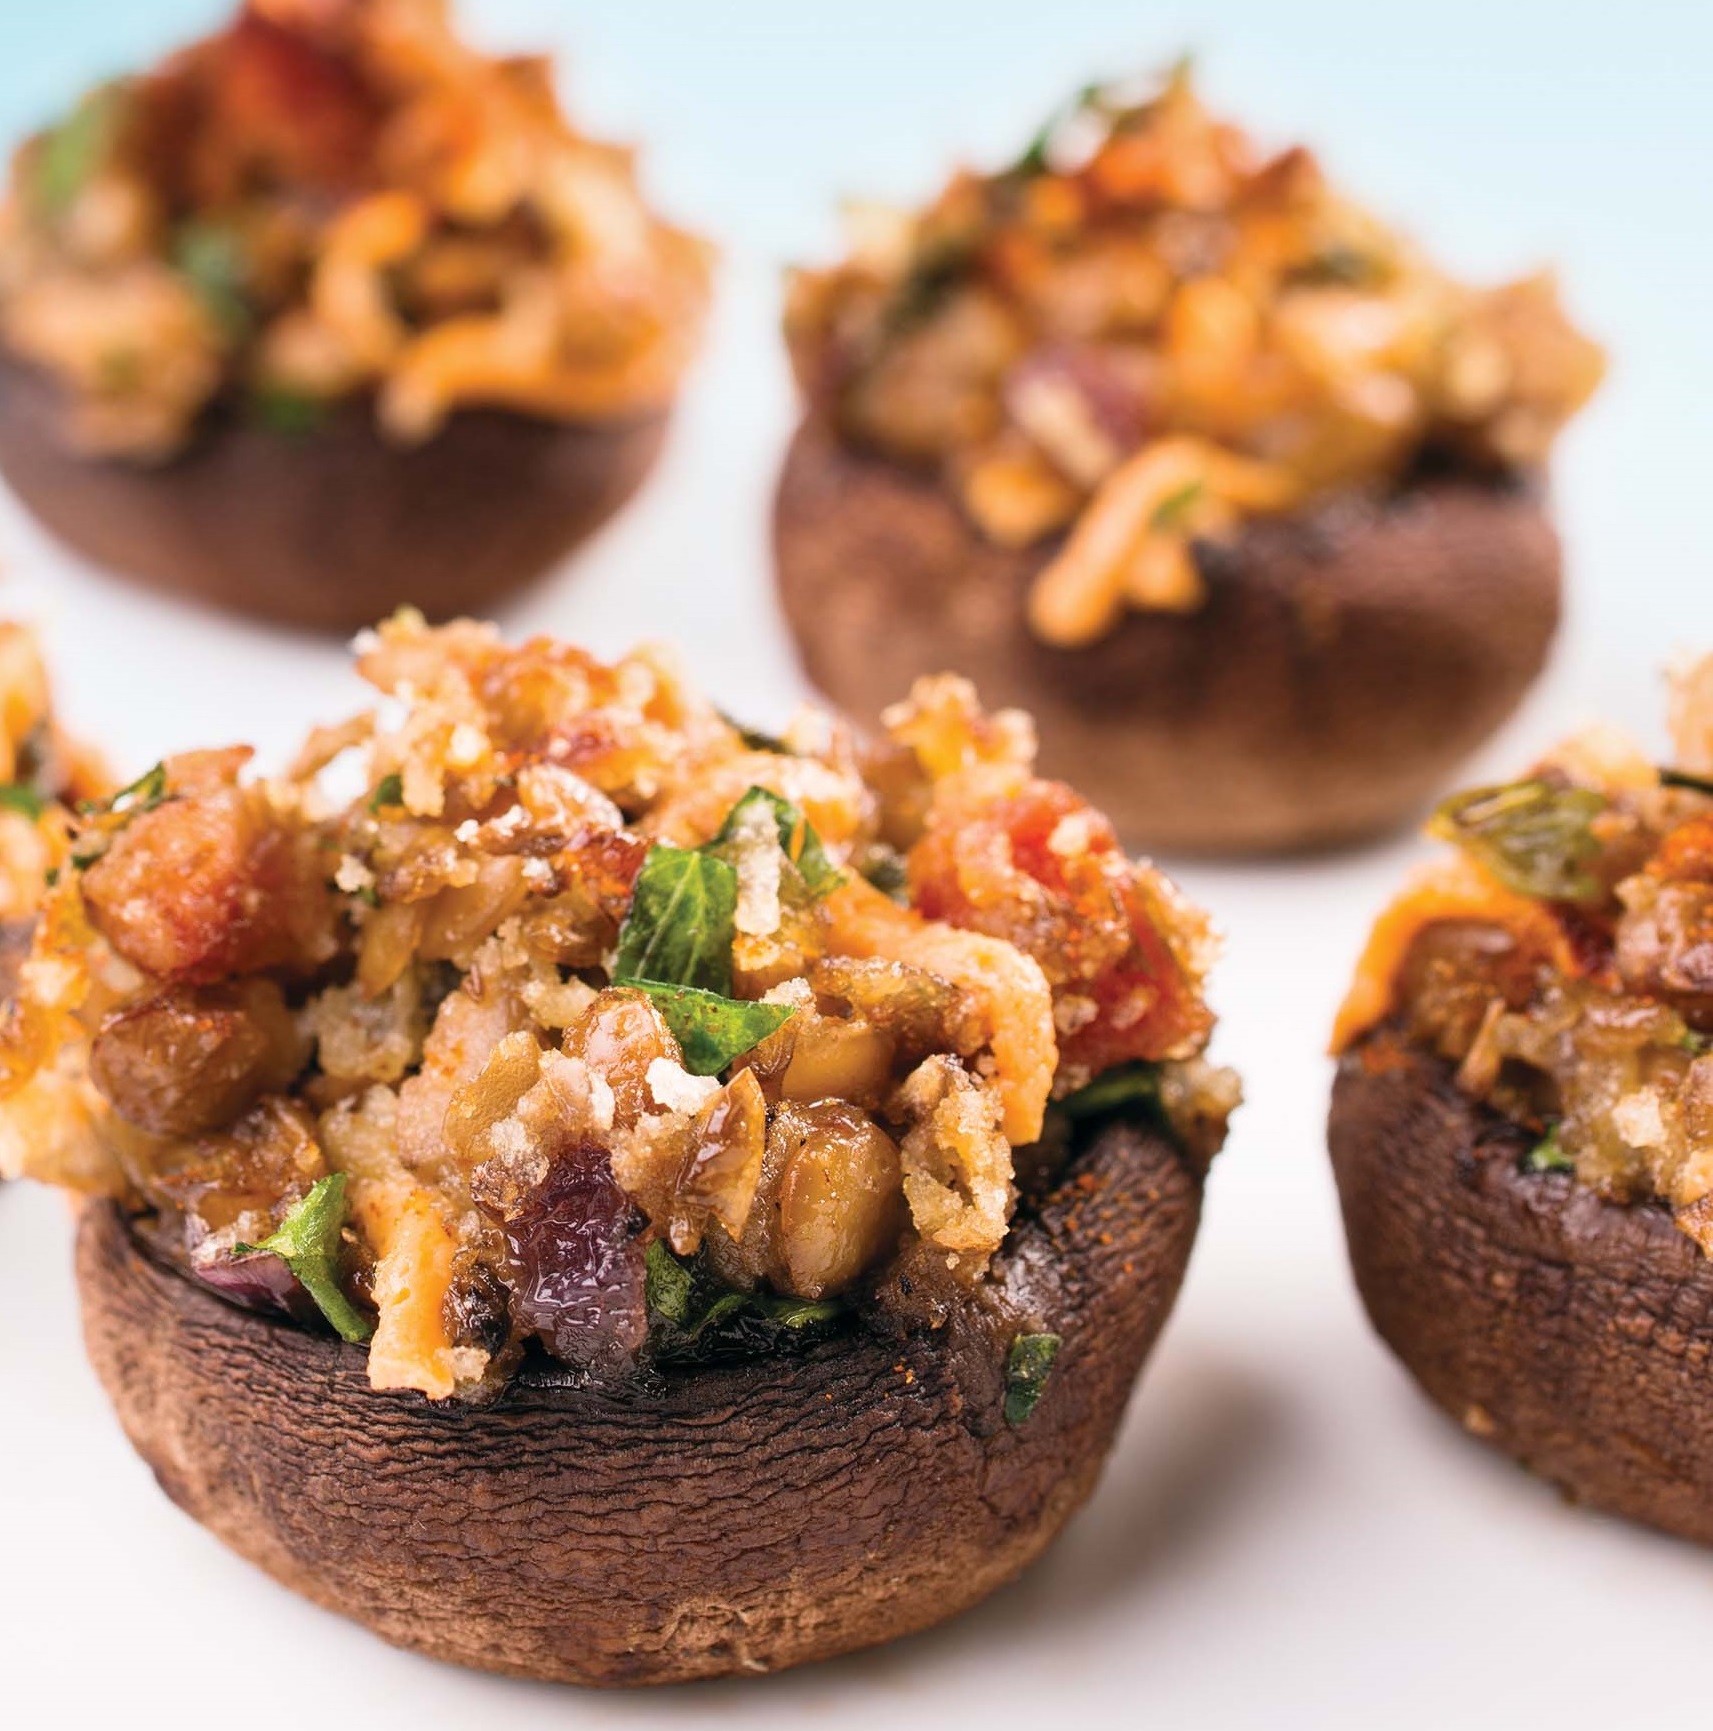
Lentil and Herb Stuffed Mushrooms
Lentil and Herb Stuffed Mushrooms
Makes 6 servings
Free From gluten and all top 8 allergens
Lentils are said to resemble mini coins, and an abundance of these tiny edible legumes symbolizes wealth in the New Year. This rich and flavorful gluten-free appetizer can be prepared through Step 4 and chilled a day in advance. Just before your guests arrive, drizzle the stuffed caps with olive oil and bake. To make vegan, omit the pancetta.
30 crimini mushrooms (2-3 inches wide)
4 tbsp olive oil, divided
1 1/2 oz (42 g) pancetta, diced (optional)
1/2 cup (120 mL) minced red onion
1 tsp chopped fresh thyme
1 tsp chopped fresh sage
pinch crushed red pepper
3 cloves garlic, minced or crushed
1/2 tsp salt + additional for mushroom caps
2 tbsp dairy-free, soy-free buttery spread
1 cup (250 mL) cooked lentils (1 15 oz can, drained)
2 tbsp chopped fresh parsley
1 cup (250 mL) gluten-free, allergen-free bread crumbs
1/2 cup (120 mL) shredded dairy-free, soy-free cheddar cheese alternative (such as Daiya)
freshly ground black pepper
paprika, for sprinkling
1. Preheat oven to 425° F. Line a large baking sheet with parchment paper.
2. With a dry paper towel, gently wipe dirt off mushrooms. Remove stems. Trim off the rough bottoms of stems. Finely chop remaining stem portions. Place mushroom caps, top-side down, on the prepared baking sheet.
3. Heat 2 tablespoons olive oil in a large saute pan or a Dutch oven over medium heat. Add pancetta and cook 2 minutes, stirring often. Add onion, thyme, sage and crushed red pepper and cook 2 minutes, stirring often. Add garlic and cook 1 minute, while stirring. Add chopped mushroom stems and 1/2 teaspoon salt and cook 3 minutes, stirring often. Add buttery spread and stir to combine. Remove from heat.
4. In a medium bowl, mash 1/2 cup lentils until relatively smooth. Stir in remaining lentils, cooked mushroom mixture and parsley. Add bread crumbs, shredded cheese alternative, and a few turns fresh black pepper. Stir gently to combine.
5. Lightly sprinkle mushroom cap cavities with salt. Stuff each with a rounded tablespoon of lentil stuffing. Lightly sprinkle tops with paprika.
6. Drizzle stuffed mushrooms with remaining 2 tablespoons olive oil. Bake for 30 minutes, until mushroom are tender and filling is golden brown. Transfer to a platter and serve warm.
Lentil and Herb Stuffed Mushrooms © 2015 by Cybele Pascal
This recipe first appeared in the Winter 2015 issue of Allergic Living Magazine
Gluten Free Mushroom Gravy
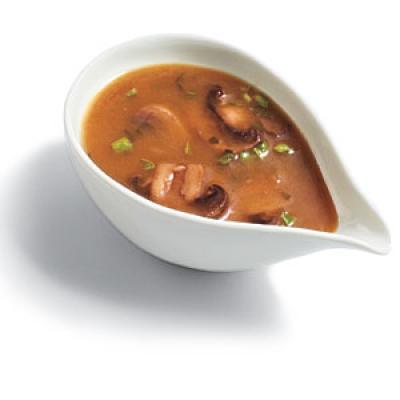
Versatile Gluten-Free Mushroom Gravy
Makes 3½ cups
Free From gluten and all top 8 allergens
This flavorful gravy is great on just about anything savory, but it was tailor-made for my Light and Fluffy Mashed Potatoes and Meatloaf Meatballs (recipes to follow). Leftovers can be refrigerated for up to 1 week in an airtight container. If it thins in storage, whisk in a little more cornstarch and heat to thicken. ALSO GREAT FOR THANKSGIVING.
½ cup minced yellow onion
2 cloves garlic, crushed or finely minced
¼ tsp dried thyme
1 pound sliced mushrooms
¼ tsp salt
4 cups allergen-free beef stock (look for allergen-free brand), divided
2 tbsp cornstarch
1 tbsp chopped fresh parsley
freshly ground black pepper
1. Heat oil in a large skillet or Dutch oven over medium-high heat. Add onions and sauté 1 minute, until starting to soften. Add garlic and thyme and sauté 30 seconds.
2. Reduce heat to medium, add mushrooms and salt. Cook 10 minutes, stirring occasionally, until mushrooms have cooked down and are browned.
3. Add 3 cups beef stock and bring to a simmer. In a medium bowl, whisk remaining 1 cup beef stock with cornstarch and drizzle into pot while whisking. Simmer on medium-low heat, stirring often, until thickened, about 20 minutes.
4. Whisk in parsley. Add salt and pepper, to taste. Serve hot.
Versatile Gluten-Free Mushroom Gravy © 2014 by Cybele Pascal
This recipe first appeared in the Fall 2014 issue of Allergic Living Magazine