Allergy Friendly Creamy Macaroni Salad
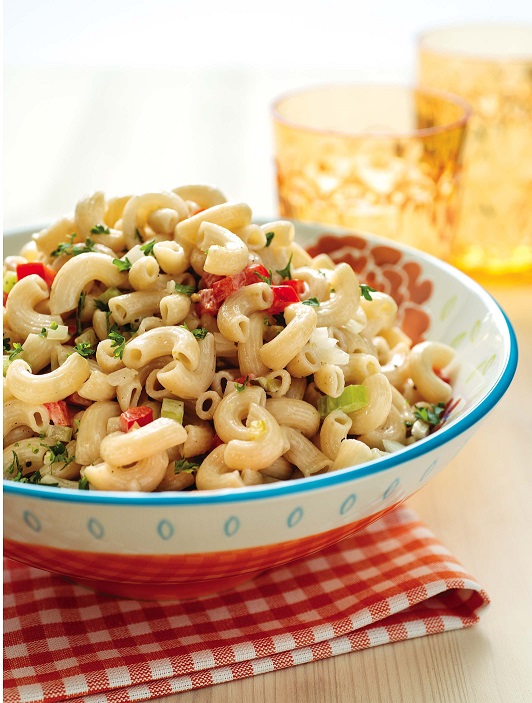
Classic Creamy Macaroni Salad
Serves 4 to 6
Free of: gluten and all top allergens
Pasta salad may seem like a no-brainer, but gluten-free pasta can get tough after a few hours, and allergy-friendly mayo isn’t always easy to locate. Luckily, I’ve got a few recipe tricks up my sleeve to tackle both issues.
8 oz gluten-free elbow macaroni pasta (I use Tinkyada brown rice with rice bran)
½ cup + 2 tbsp soy-free vegan mayonnaise (store-bought or my Rice Milk Mayonnaise)
1 large garlic clove, minced or crushed
1 tsp sugar
1 tbsp apple cider vinegar
1 tsp Dijon mustard
2 tbsp gluten-free sweet relish
2 tbsp plain rice milk
½ cup minced celery
½ cup minced red bell pepper
2 tbsp minced yellow onion
Salt and freshly ground pepper, to taste
Curly parsley, for garnish
1. Cook pasta in salted water until tender (do not stop at al dente). Drain but don’t rinse. Spread in a single layer on a baking tray to let cool and dry.
2. Combine mayonnaise, garlic, sugar, vinegar, mustard and relish in a medium bowl. Whisk in rice milk until smooth.
3. Toss pasta in a large bowl with celery, bell pepper and onion. Sprinkle with salt and a few turns of freshly ground pepper. Add dressing, and stir gently to coat.
4. To let flavors meld, cover pasta tightly and chill in refrigerator 1 hour.
5. Adjust salt and pepper, to taste. Serve garnished with fresh parsley.
Classic Creamy Macaroni Salad © 2013 by Cybele Pascal
This recipe first appeared in the Summer 2013 issue of Allergic Living Magazine
Allergy Friendly Oven Fried Chicken

“Buttermilk” Oven-Fried Chicken
Serves 4 to 6
Free of: Gluten and all top allergens.
Oven-baked chicken is much lower in fat, but the skin never fully crisps like deep-fried chicken. The solution: remove the skin – cutting fat even further. This allows the chicken to better absorb the marinade, for the breading to adhere to the surface, and it creates a much better texture when served at room temperature or cold.
1 cup (250 mL) plain rice milk
1 1/2 tbsp lemon juice
2 garlic cloves, minced or crushed
1/2 tsp + big pinch salt, divided
freshly ground pepper
3 tbsp olive oil
3 pounds (1.5 kg) chicken parts – drumsticks, thighs and bone-in split breasts (cut in half crosswise), skin removed.
3 cups (710 mL) gluten-free corn flakes (such as Erewhon brand) or 1 cup gluten-free bread crumbs (I use Ener-G)
1/2 cup (120 mL) dairy-free, soy-free mozzarella cheese alternative (I use Daiya)
1/4 tsp cayenne pepper
1/4 cup (60 mL) dairy-free, soy-free buttery spread (I use Earth Balance), melted
1. In a large shallow dish whisk together rice milk, lemon juice, garlic, 1/2 tsp salt and a few turns of freshly ground pepper. Drizzle in oil, a little at a time, while whisking to combine.
2. Add chicken to rice milk mixture. Turn to coat. Cover tightly and refrigerate at least 4 hours or overnight.
3. Grind cornflakes into a fine crumb in a blender or food processor. Transfer crumbs to a wide shallow bowl.
4. Pulse cheese alternative in a blender or food processor until it’s the texture of grated Parmesan. Add the grated cheese alternative to the crumbs, as well as cayenne, big pinch of salt and a few turns of ground pepper. Toss to combine.
5. Arrange a rack on top of a large baking pan. Remove chicken from marinade, allowing excess to drip off, turn in crumb mixture to coat and place on rack. Repeat with all chicken pieces. Let chicken dry on rack for 15 minutes.
6. Preheat oven to 425° F. Arrange the chicken on a lightly greased baking pan. Drizzle with buttery spread. Bake 40-45 minutes or until golden and crispy. Serve hot or at room temperature.
“Buttermilk” Oven-Fried Chicken © 2013 by Cybele Pascal
This recipe first appeared in the Summer 2013 issue of Allergic Living Magazine
Allergy Friendly Pad Thai
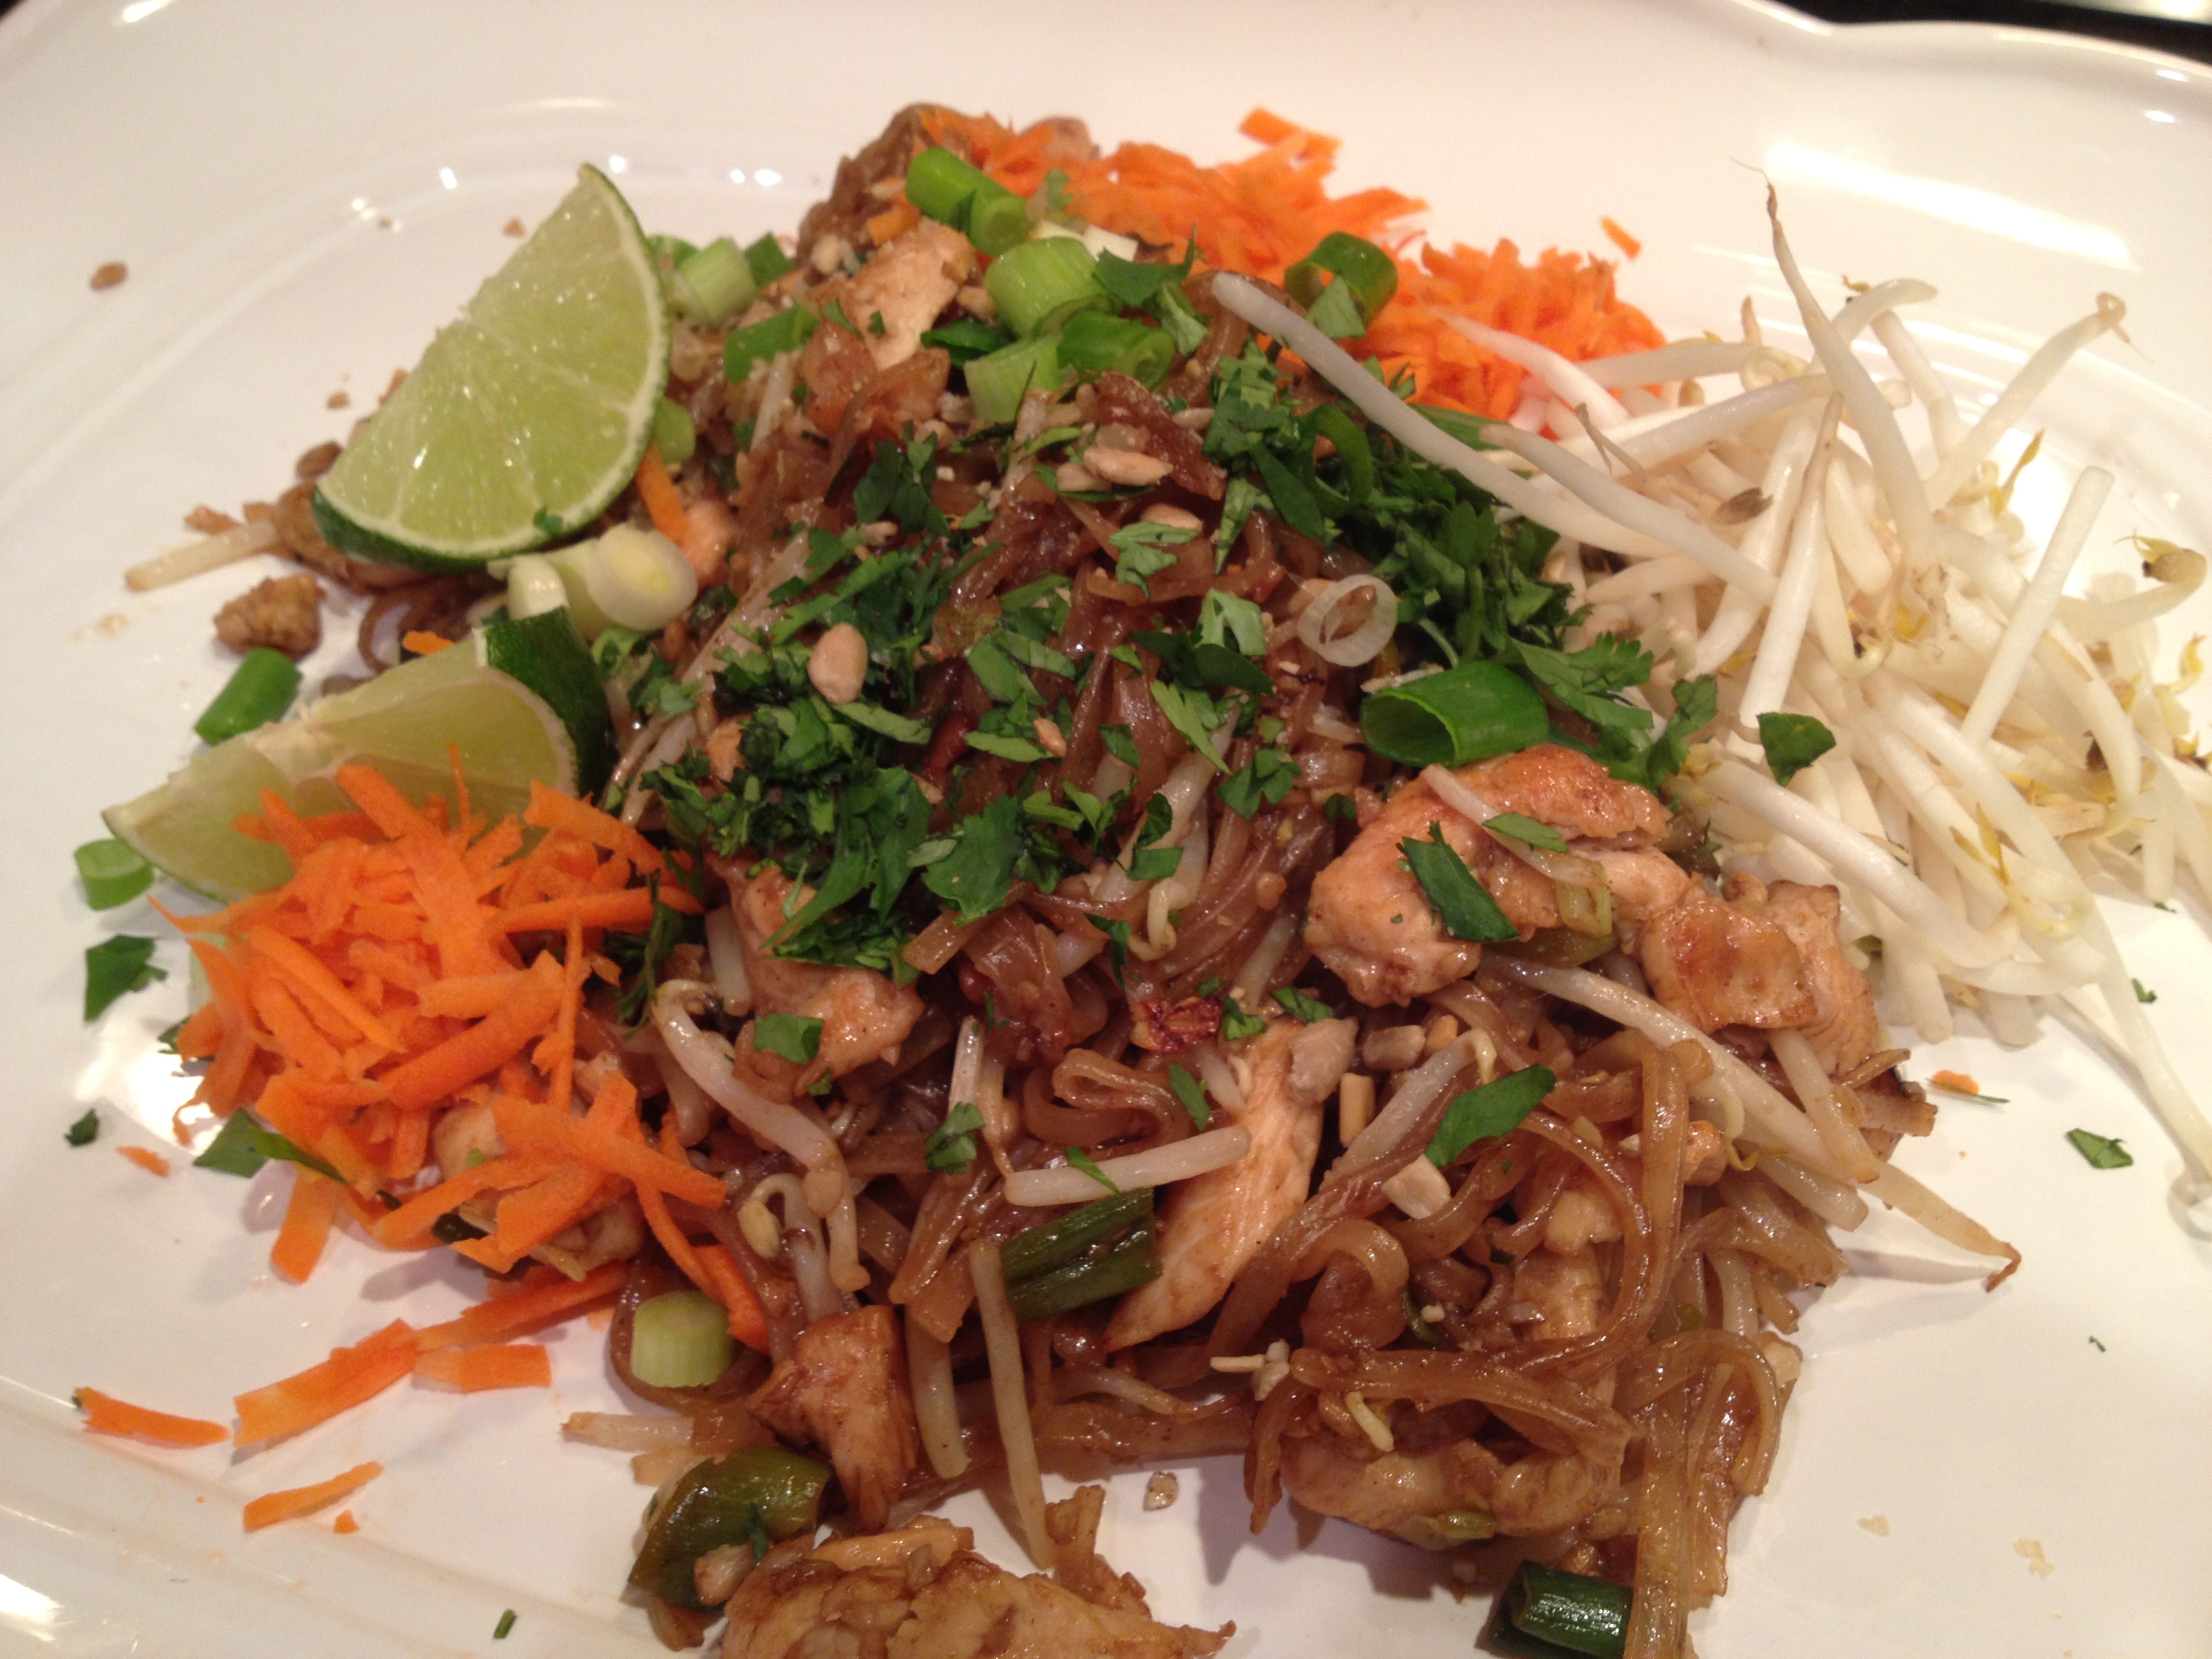
Allergy-Friendly Pad Thai
(Gluten-Free and Top 8 Allergen-Free)
Serves 2
Pad Thai used to be one of my favorite foods, until my allergies to fish, shellfish, and wheat blew up. In fact, in its traditional form, this is one of the world’s most allergenic foods since it contains wheat/gluten, soy, fish, shellfish, eggs, and peanuts.
Not one to be daunted, I decided it was time to conquer this amazing dish, and make it allergy-friendly for us Thai food lovers with food allergies.
This recipe serves two, which is the recommended way to make Pad Thai because cooking a larger batch will make for mushy, clumpy noodles. If you want to double the recipe, you will need to cook the sauce a bit longer than 20 minutes to reduce it, and you will need to cook the Pad Thai in two batches for best results.
Sauce Ingredients
½ cup beef broth [allergy-friendly brand such as KITCHEN BASICS]
½ cup low-sodium chicken broth [allergy-friendly brand such as KITCHEN BASICS]
1 clove garlic, thinly sliced
¼ tsp Chinese five-spice powder [try Spicely Organics, which are allergy-friendly]
¼ tsp salt
½ tsp freshly squeezed lemon juice
1 tsp freshly squeezed lime juice
1 tbsp tamarind paste
3 tbsp palm sugar or brown sugar
½ tsp Sriracha hot sauce (optional)
Main Ingredients
4 oz rice stick (pad Thai noodles)
2 tbsp canola oil
8 oz chicken breast, or pork, or beef, sliced into ¼-inch thick strips, seasoned with a little salt
1 cup chopped green onion, white and green parts divided
3 cloves finely minced garlic (1 tbsp)
1 1/3 cups bean sprouts, divided
½ cup roasted sunflower seeds, chopped, divided
¼ cup chopped cilantro
½ cup carrots, shredded or cut into match sticks
lime wedges
1. Combine beef broth, chicken broth, garlic, and Chinese five-spice powder in a small saucepan over medium heat. Bring to a boil. Now add salt, lemon juice and lime juice, reduce heat to medium-low and simmer uncovered 20 minutes until reduced to ¼ cup. Strain broth through a strainer or fine sieve, using the back of a spoon to push garlic juices through.
2. Return to the pot, add tamarind paste, palm sugar and Sriracha (if using). Stir over low heat, until the sugar is dissolved. Remove from heat and set aside.
3. Put noodles in a large bowl. Pour boiling water over noodles to cover completely. Use tongs to stir noodles a couple times. Let soak 4 minutes. Drain, and rinse with cool water. Set aside.
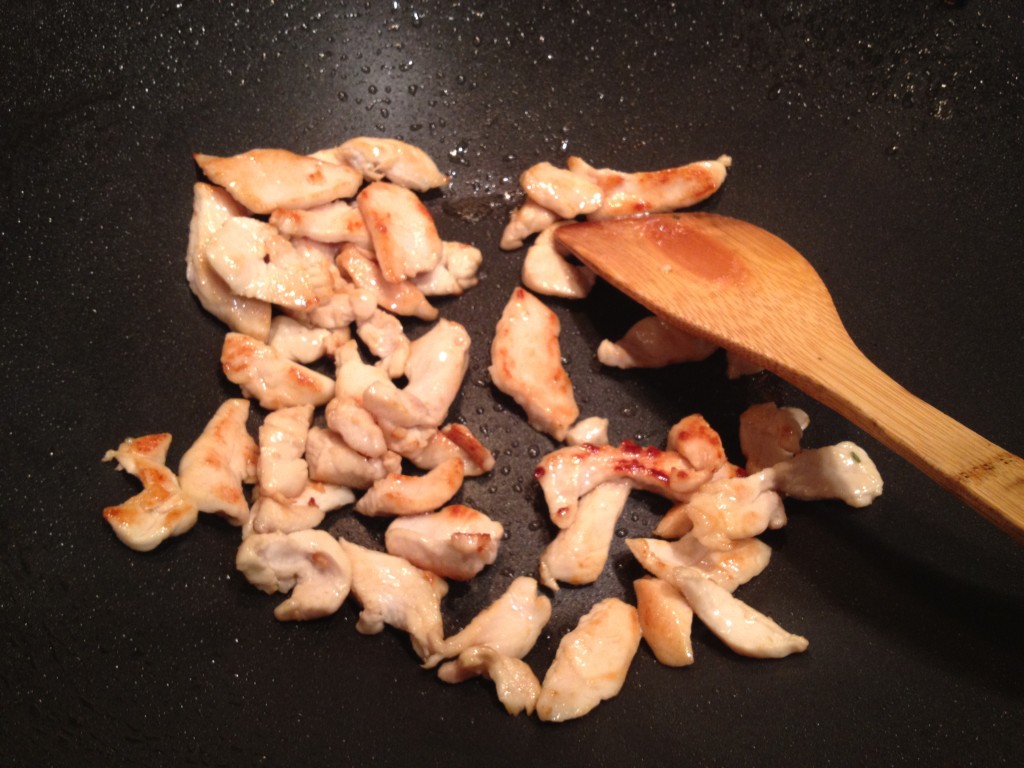
4. Heat a non-stick or well seasoned wok over high heat, add 1 tablespoon of the canola oil and heat until almost smoking, swirl around wok, then add the chicken. Cook, stirring often, about 3 minutes until golden brown. Transfer to a bowl and set aside.
5. Add the remaining tablespoon of canola oil to the wok. Add ½ cup of the green onions and the garlic to the wok, and cook stirring about 10-15 seconds. Do not burn the garlic.
6. Add remaining ingredients in the following order, and toss after each addition: noodles, 3 tablespoons of the sauce, chicken, 1 cup of the bean sprouts, and ¼ cup of the sunflower seeds. Season with a little salt. Toss everything until heated through but no longer than 1-2 minutes. Using two utensils will make tossing a lot easier!
7. Transfer to a serving platter and serve garnished with the remaining ½ cup of green onions, cilantro, the remaining 1/3 cup of bean sprouts, the carrots, the remaining ¼ cup of sunflower seeds, and a few lime wedges.
Pad Thai Tips
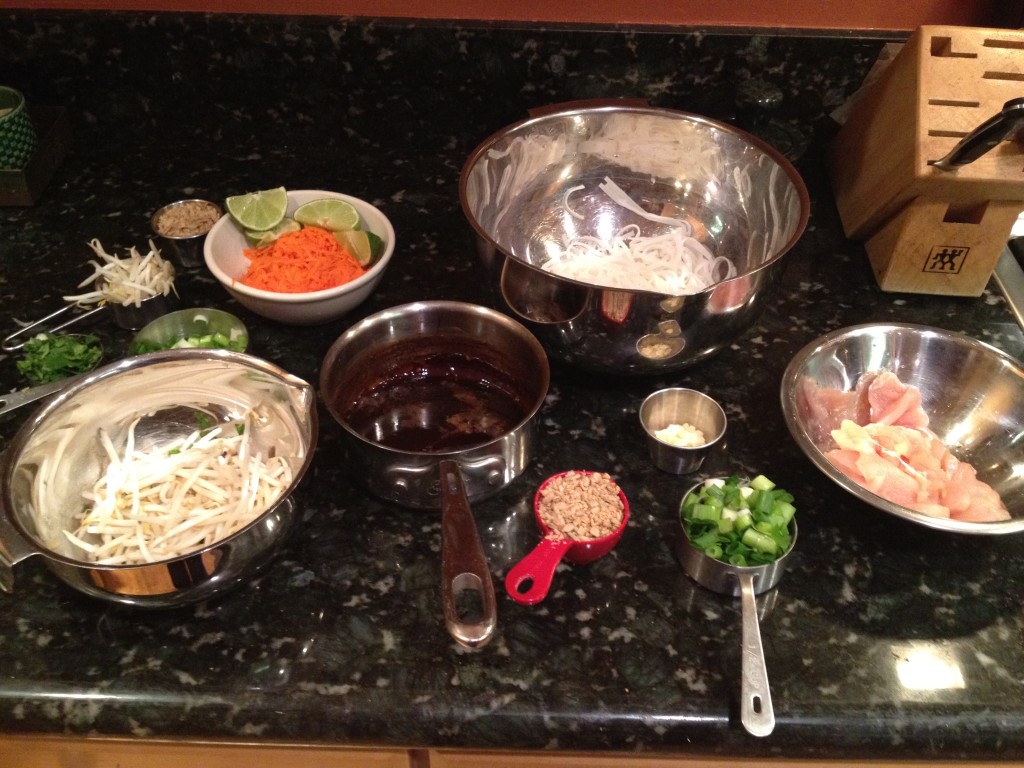
• While making your sauce, prep all your other ingredients except the noodles.
• “Chopping” sunflower seeds: Put the seeds in a ziplock bag and bang a few times with a rolling pin or a mallet. Attempting to chop these seeds with a knife is a losing battle.
• To mix evenly and cook through, use two large spatulas or spoons to toss the Pad Thai as you’re cooking it.
• Read the recipe through before making it, so you are ready to add ingredients to the wok quickly.
Allergy-Friendly Pad Thai © 2013 by Cybele Pascal
This recipe first appeared in the Spring 2013 issue of Allergic Living Magazine