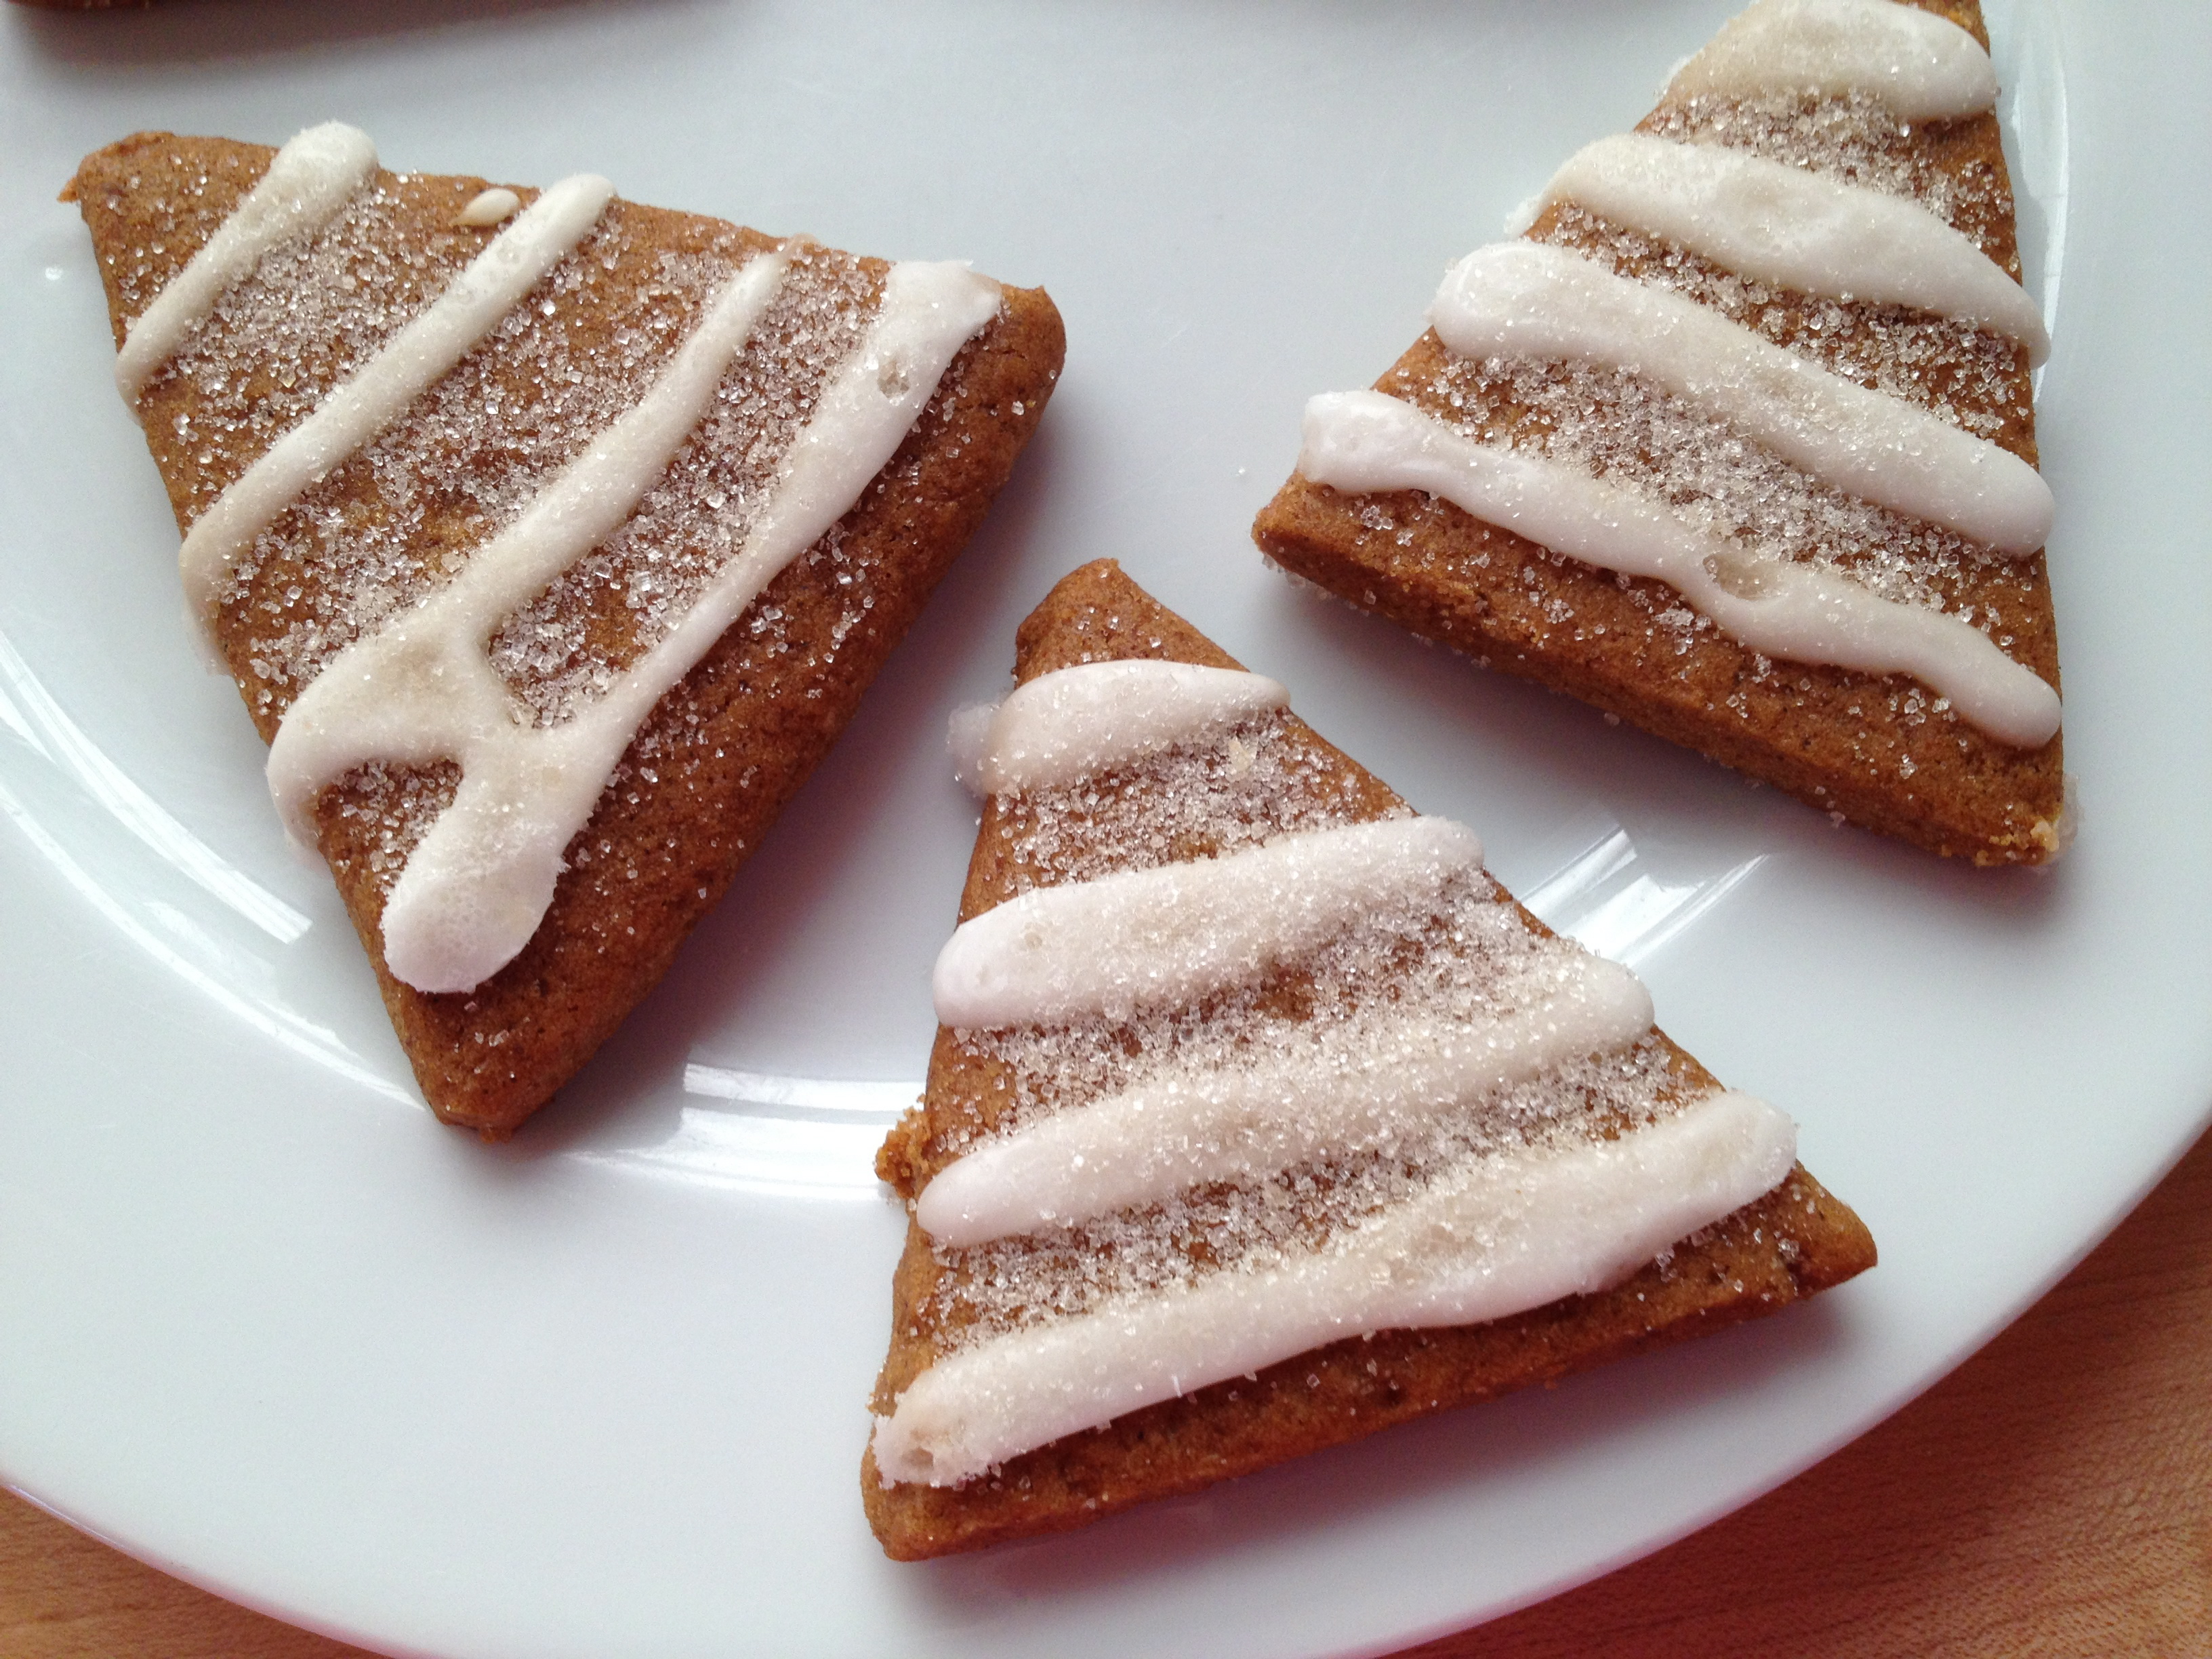
Allergy Friendly Gingerbread Trees with Lemon Icing
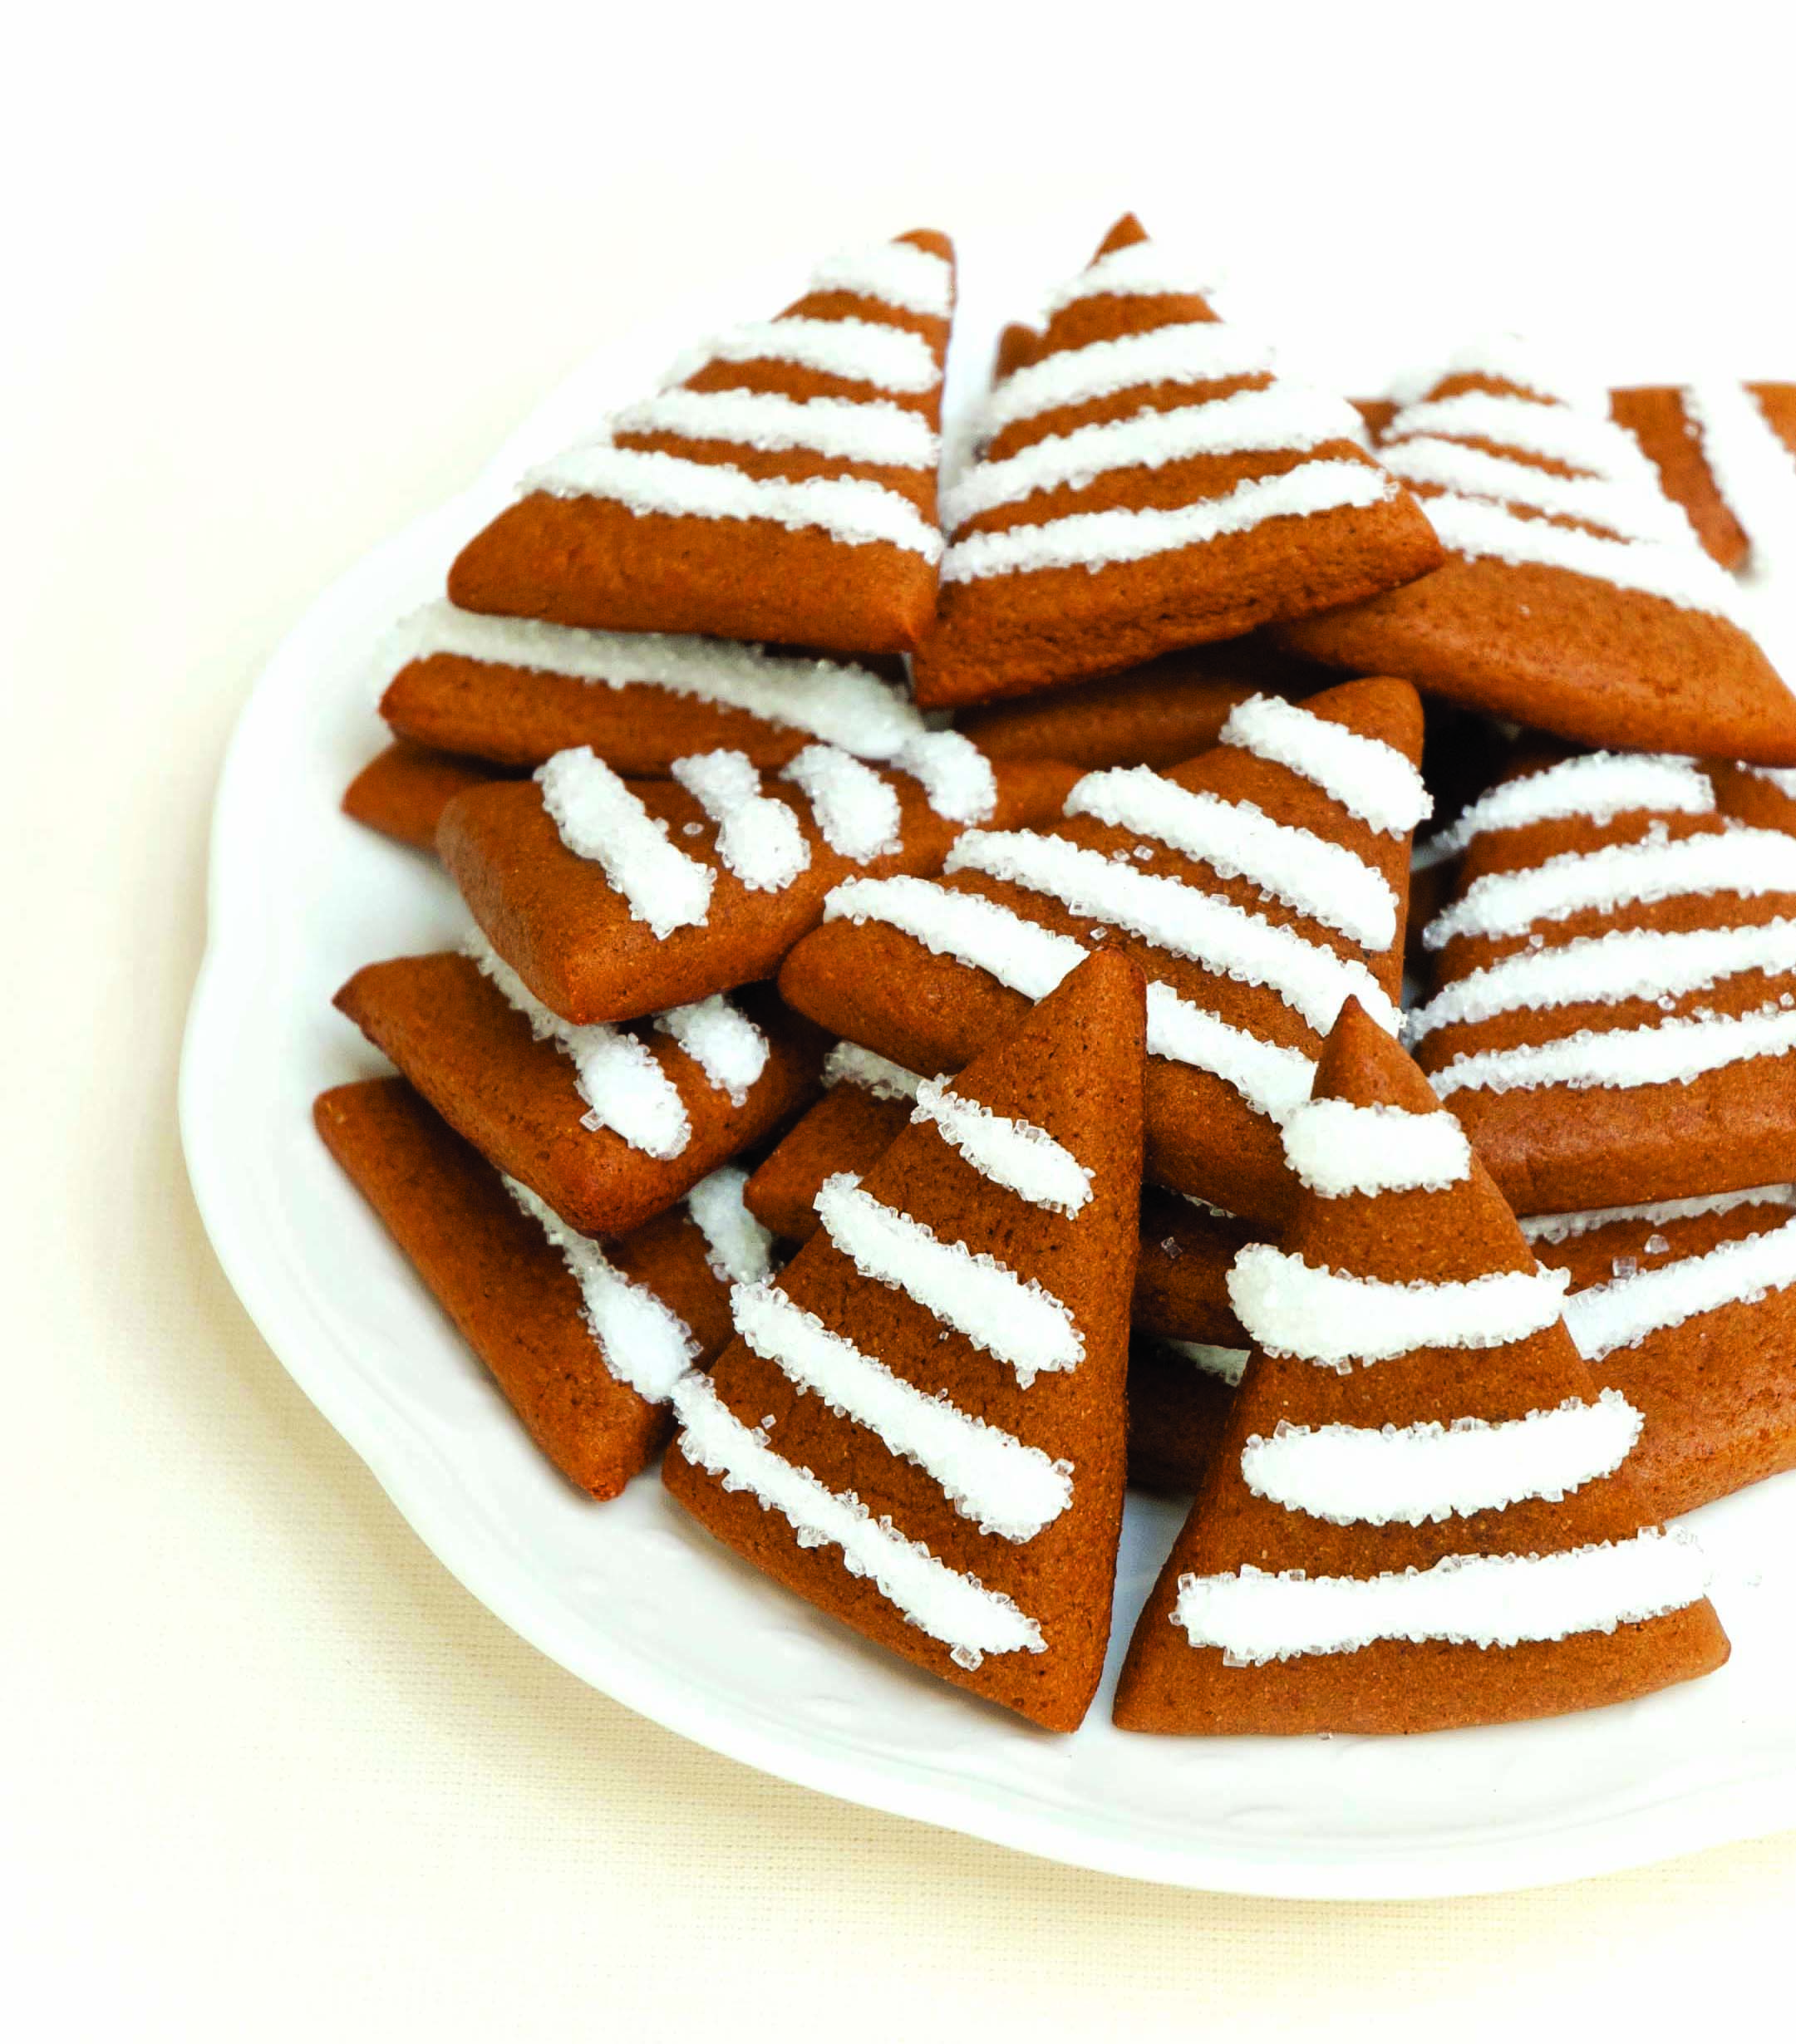
Allergy-Friendly Gingerbread Trees with Lemon Icing
Fill your home with a delicious aroma and let the family join in as you roll, cut and bake these delectable cookies. A simple icing tops these pretty little trees, but don’t hesitate to add sparkling sugar for a snow-kissed look.
Makes 40 2½-inch cookies
Free From: gluten and all top allergens
Cookies
2½ cups my Basic Gluten-Free Flour Mix or Authentic Foods GF Classical Blend
1 tsp ground ginger
¾ tsp baking soda
¾ tsp salt
⅝ tsp xanthan gum
½ tsp ground cinnamon
½ tsp ground cloves
½ cup packed light brown sugar
½ cup dairy-free soy-free vegetable shortening, cut into 8 pieces
¼ cup + 2 tbsp applesauce
¼ cup unsulphured molasses
Icing
1⅓ cups confectioners’ sugar
2 tbsp fresh lemon juice
Decorating, sanding or coarse sugar (optional)
1. In bowl of a stand mixer fitted with paddle attachment, mix flour blend, ginger, baking soda, salt, xanthan gum, cinnamon and cloves on low speed for 30 seconds. Add brown sugar, mix 30 seconds more.
2. Add shortening pieces and applesauce to flour mixture and mix on low speed for 90 seconds, or until the consistency of a fine meal. With mixer still running, add molasses and mix for 30 seconds, scraping down the sides of bowl as necessary.
3. Lay 2 large sheets of parchment paper on your work surface. Transfer dough to one sheet of parchment. Pat dough into a disk and cover with other piece of parchment. Roll out dough into a ¼-inch thick, long rectangle.
4. Transfer dough with parchment paper to the freezer (place on a cleared rack or baking tray) and chill until firm, at least 20 minutes.
5. Preheat oven to 350° F with racks in upper and lower thirds. Line two baking sheets with parchment paper.
6. Remove dough from freezer and place it on a work surface. Peel back the top sheet of parchment paper, then replace it. Flip, peel off other sheet of parchment and discard it. This is a good technique to avoid over-handling and breaking the rolled dough.
7. Cut dough into long 2½-inch wide strips then cut each strip into triangles with 2-inch wide bases. Place the dough triangles on baking sheets, 1 inch apart. Gather any remaining dough scraps, roll into ¼-inch thick rectangle and cut into triangle shapes.
8. Bake 10 minutes, or until the cookies are golden. Let cool for 5 minutes on baking sheets, before transferring the cookies to a wire rack to cool completely.
9. For icing, whisk confectioners’ sugar and lemon juice in a small bowl until smooth. Drizzle over cooled cookies wiith a very small spoon or knife, making 3 or 4 horizontal lines across each cookie. Sprinkle with coarse sugar. Let set then shake off any extra sugar.
Allergy-Friendly Gingerbread Trees with Lemon Icing © 2013 by Cybele Pascal
This recipe first appeared in the Winter 2013 issue of Allergic Living Magazine
Allergy Friendly Lemon Raspberry Thumbprint Cookies

Lemon Raspberry Thumbprint Cookies
It’s December, folks, which means it’s time to really get baking! These tender “buttery” cookies are sure to be a favorite at your holiday parties, or left out for Santa. Nobody will ever know they are gluten-free, vegan, and free from the Top 8 Allergens.
Thumbprint is really a misnomer for these little gems, as you actually use your index finger to make the little jam pools in the center. Either way, they’re oh-so-pretty with festive red centers and a snowy dusting of powdered sugar.
Makes 24 2-inch cookies
Free From: gluten and all top allergens
¾ cup dairy-free soy-free vegetable shortening
½ cup sugar
½ tsp double-acting baking powder
1 tbsp lemon juice
1 tsp lemon zest
¾ tsp Ener-G egg replacer mixed with 1 tbsp plain rice milk alternative
½ tsp vanilla extract
1¾ cups my Basic Gluten-Free Flour Mix or Authentic Foods GF Classical Blend
⅜ tsp xanthan gum
⅛ tsp salt
⅓ cup raspberry jam
confectioners’ sugar, for topping
Preheat oven to 350° F. Line two baking sheets with parchment paper.
In bowl of a stand mixer fitted with paddle attachment, mix shortening and sugar on medium speed for 30 seconds. Add baking powder, and mix until just combined. Add lemon juice, lemon zest, egg replacer and vanilla and mix for 30 seconds.
In a separate bowl, whisk together flour blend, xanthan gum and salt. Add flour mixture to shortening mixture and beat on low speed until thoroughly combined. You want it doughy but soft, so it can be balled together, like new playdough.
Scoop dough by the heaping tablespoon, roll into smooth balls and place on baking trays (12 per tray).
Lightly flour your index finger and make indents in the center of each ball. Gently pinch together the edges if they split. Fill each indentation with scant ½ teaspoon of raspberry jam.
Bake in center of oven for 18 to 20 minutes, or until jam is bubbling and cookies are just lightly golden around edges. Cool on baking sheet for 5 minutes before transferring to a wire rack to cool completely.
Prior to serving, dust with confectioners’ sugar. For bold red middles, lightly wet finger and trace over the jam surface to dissolve the confectioners’ sugar on the center only.
Allergy-Friendly Lemon Raspberry Thumbprint Cookies © 2013 by Cybele Pascal
This recipe first appeared in the Winter 2013 issue of Allergic Living Magazine
Allergy Friendly Lemonade Cake

Allergy-Friendly Lemonade Cake
Makes 12 ample servings
Free of: gluten and all top allergens
Tart, sweet and the perfect finish to a summer meal, get ready to fall in love with this old-fashioned cake. It can be made a day in advance and lasts for several days, covered at room temperature, but good luck keeping it around that long!
Ingredients
¼ cup frozen lemonade concentrate, thawed
½ cup plain rice milk
¼ cup + 2 tbsp vanilla vegan yogurt (I like So Delicious coconut milk yogurt)
1½ tsp apple cider vinegar
1 tsp lemon zest
2¼ cups Authentic Foods GF Classical Blend or my Basic Gluten-Free Mix
¾ tsp xanthan gum
1⅛ tsp double-acting baking powder
1⅛ tsp baking soda
1⅛ tsp salt
1 cup + 2 tbsp sugar
½ cup + 1 tbsp dairy-free soy-free shortening
2¼ tsp vanilla extract
3½ tsp Ener-G Egg Replacer mixed with 4½ tbsp plain rice milk
1 recipe Lemonade Buttercream Frosting (recipe follows)
Method
1. Preheat oven to 350°F. Generously grease a 9×13-inch pan with shortening.
2. Combine lemonade concentrate, rice milk, yogurt and vinegar in a small bowl. Add zest, and set aside.
3. Measure flour mix by spooning flour into a dry measuring cup, then leveling it off with a straightedge. Whisk flour mix with xanthan gum, baking powder, baking soda and salt in a medium bowl. Set aside.
4. Add sugar and shortening to the bowl of a stand mixer fitted with the paddle attachment. Mix on medium speed for 2 minutes. Add vanilla and egg replacer mixture. Mix on medium speed 1 minute more.
5. Sift the flour mixture into the bowl of the stand mixer in three batches, alternating with the lemonade mixture, mixing after each addition to combine. Transfer batter to the prepared pan, and use an offset spatula to even out.
7. Bake in center of oven 20 minutes until the cake is starting to pull away from sides of pan, top is a lovely golden color, and a skewer or toothpick inserted into the cake comes out clean.
8. Let cool completely in pan on a cooling rack. Spread with frosting using an offset spatula.
Lemonade Buttercream Frosting
Makes enough to frost one 9×13-inch cake
Free of: gluten and all top allergens
¾ cup dairy-free soy-free shortening
Pinch of salt
¾ pound confectioners’ sugar (2¼ cup + 3 tbsp)
¼ cup frozen lemonade concentrate, thawed
¾ tsp vanilla extract
¾ tsp lemon zest
1. In the bowl of a stand mixer fitted with the paddle attachment, cream shortening and salt on medium speed for 2 minutes.
2. Add sugar in three batches, beating after each addition. It will be crumbly. Add lemonade concentrate, vanilla and zest. Beat on medium speed until smooth and fluffy, about 3 minutes.
Allergy-Friendly Lemonade Cake © 2013 by Cybele Pascal
This recipe first appeared in the Summer 2013 issue of Allergic Living Magazine