Allergy Free Chocolate Rice Crispy Treats: Good Morning America Health
RED VELVET CAKE with VELVET FROSTING
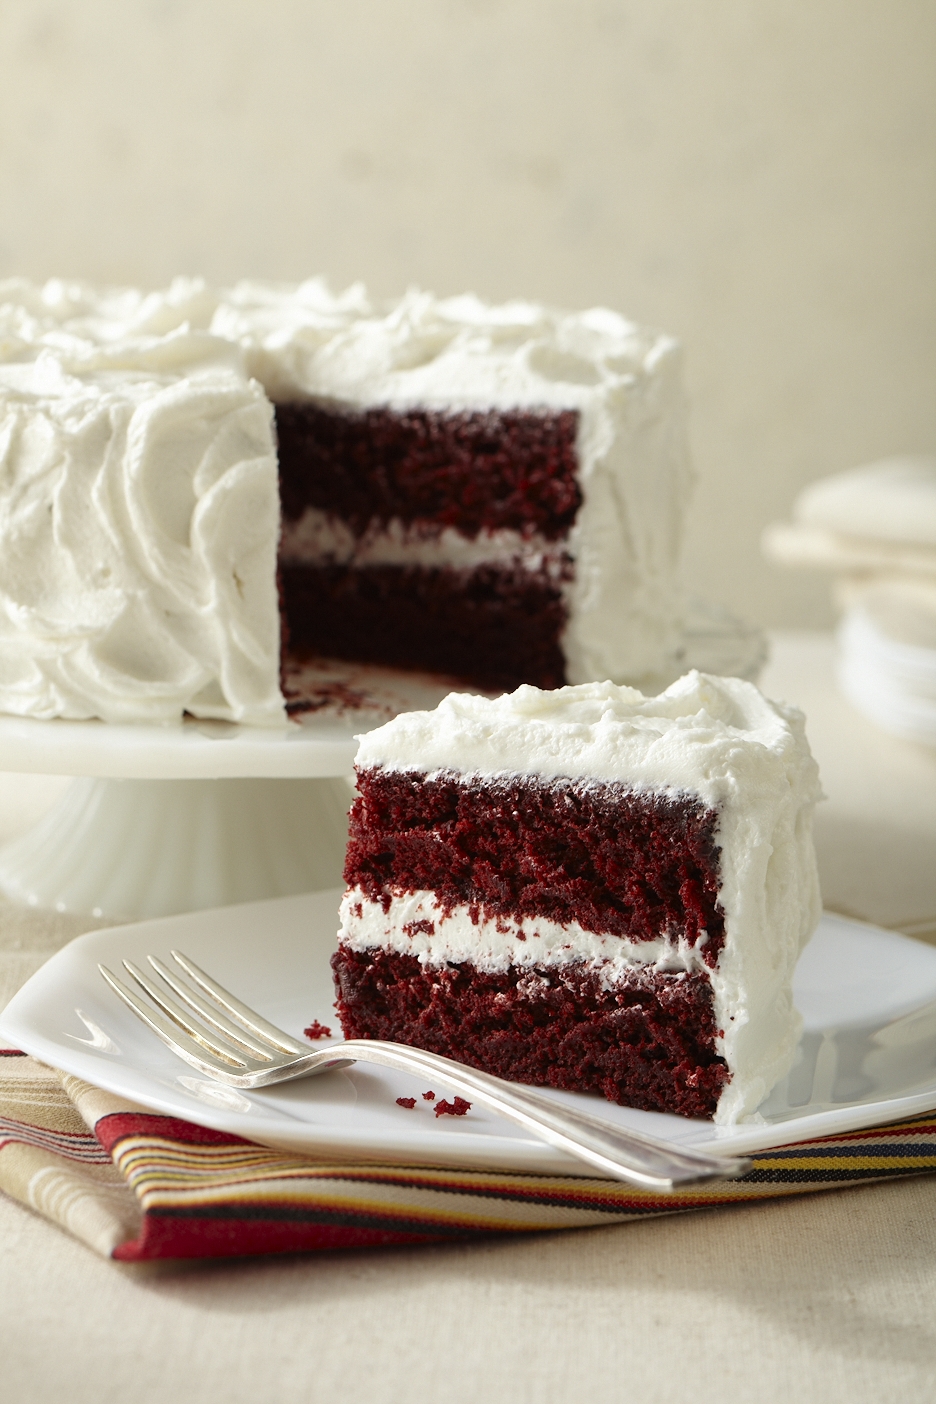
What better way to celebrate Valentines Day this year, than with an Allergen-Free, Gluten-Free, Vegan Red Velvet Cake that can be eaten by all your favorite sweethearts? This cake is to-die-for. Eat it and weep.
Red Velvet Cake with Velvet Frosting
makes one 8-inch layer cake
My whole family goes crazy for red velvet cake. It’s so gorgeous and festive and sounds so luxe. This old-fashioned Southern favorite can be made even healthier by using Seelect Natural Food Coloring, which I order online.That way, you can let them eat cake without the slightest tinge of guilt.
- 2 3⁄4 cups Basic Gluten-Free Flour Mix (recipe follows)
- 1⁄4 cup unsweetened cocoa powder
- 3⁄4 teaspoon xanthan gum
- 1 1⁄2 teaspoons double-acting baking powder
- 1 1⁄2 teaspoons baking soda
- 1 1⁄2 teaspoons salt
- 1 1⁄2 cups rice milk
- 1 1⁄2 teaspoons cider vinegar
- 3⁄4 cup dairy-free, soy-free vegetable shortening
- 1 1⁄2 cups granulated sugar
- 4 1⁄2 teaspoons Ener-G egg replacer mixed with 6 tablespoons rice milk
- 1 teaspoon pure vanilla extract
- 1 (1-ounce) bottle red food coloring 1 recipe Velvet Frosting (recipe follows)
- Preheat the oven to 350°F. Grease two 8-inch round cake pans, line with cutout parchment paper, grease again, and dust with a little cocoa powder.
- Whisk together the flour mix, cocoa powder, xanthan gum, baking powder, baking soda, and salt. Set aside.
- Combine the rice milk and cider vinegar. Set aside.
- In the bowl of a stand mixer fitted with the paddle attachment, combine the shortening, sugar, egg replacer, and vanilla. Beat on medium speed until light and fluffy, about 2 minutes. Add the food coloring and mix until combined, scraping down the sides of the bowl as necessary. Sift in the flour mixture in three batches, alternating with the rice milk mixture, and beginning and ending with the flour mixture. Beat until smooth, about 30 seconds, scraping down the sides of the bowl as necessary.
- Divide the batter between the two pans, and smooth down the surface using a frosting spatula.
- Bake in the center of the oven for about 35 minutes, or until the cake is beginning to pull away from the sides of the pan and a skewer inserted into the center comes out clean. Rotate the pans halfway through the baking time.
- Let cool in the pans on a cooling rack for 30 minutes. Cover the cake pan with a large plate, flip, peel off the parchment paper, and flip the cake back onto the rack, right side up, to cool completely. Repeat with the other cake.
- Once the cakes have cooled completely, you may use a serrated knife to trim the tops to make them level. Frost with Velvet Frosting. Once the frosting has set, store covered at room temperature. This cake is even better on days two and three!
Velvet Frosting
makes enough to frost one 8-inch layer cake
- 1 cup dairy-free, soy-free vegetable shortening
- Pinch of salt
- 3 cups confectioners’ sugar
- 3 tablespoons rice milk
- 1 tablespoon freshly squeezed lemon juice
- 1 teaspoon pure vanilla extract
- In the bowl of a stand mixer fitted with the paddle attachment, cream the shortening and salt on medium speed for 1 minute.
- Add the confectioners’ sugar in three batches, beating after each addition.
- Add the rice milk, lemon juice, and vanilla. Beat on medium speed until smooth, creamy, and fluffy, about 5 minutes.
Basic Gluten-Free Flour Mix
makes 6 cups
The key to the very best gluten-free baked goods is Authentic Foods superfine brown rice flour; it is the Cadillac, or cashmere, of brown rice flours and is worth its weight in gold. It is not grainy like other rice flours, and bakes the most fantastic cookies, cakes, pie crusts, and so on. If you can’t find it at your local natural foods market or Whole Foods, order it online. Both Ener-G and Bob’s Red Mill brown rice flours will also work in these recipes, but they won’t turn out quite as well. I do not recommend Arrowhead Mills brown rice flour, which I find too gritty. The brands of potato starch and tapioca flour or starch are not important; I find them all interchangeable. (Please see Resources, page 177, of The Allergen-Free Baker’s Handbook for more information.)
- 4 cups superfine brown rice flour
- 1 1⁄3 cups potato starch (not potato flour)
- 2⁄3 cup tapioca flour (also called tapioca starch)
- To measure flour, use a large spoon to scoop flour into the measuring cup, then level it off with the back of a knife or straightedge. Do not use the measuring cup itself to scoop your flour when measuring! It will compact the flour and you will wind up with too much for the recipe.
- Combine all ingredients in a gallon-size zipper-top bag. Shake until well blended. Store in the refrigerator until ready to use.
All recipes reprinted with permission from The Allergen-Free Baker’s Handbook: How to Bake Without Gluten, Wheat, Dairy, Eggs, Soy, Peanuts, Tree Nuts, and Sesame. Copyright © 2009 by Cybele Pascal, Celestial Arts, an imprint of the Crown Publishing Group, Berkeley, CA. Photo credit: Chugrad McAndrews.
Gluten Free Cherry Oat Scones Recipes

Cherry Oat Scones
Makes 12 scones (gluten, wheat, dairy, egg, soy, peanut, tree nut, and sesame free)
These hearty scones are a perennial favorite, and now, thanks to gluten-free oats, even those on gluten-free diets can enjoy them. Feel free to swap out other dried fruits for the cherries. Dried apricots, cranberries, raisins, chopped dates, or figs are all wonderful substitutions. These are delicious with a little vegan butter!
1 cup plus 2 tablespoons rice milk
1 tablespoon cider vinegar
2 cups Basic Gluten-Free Flour Mix
3/4 teaspoon xanthan gum
2 tablespoons double-acting baking powder
1/3 cup granulated sugar
1/4 teaspoon salt
1/4 teaspoon ground cinnamon
11/4 cups gluten-free old-fashioned oats
1/3 cup dairy-free, soy-free vegetable shortening
1/2 cup dried cherries
Sanding sugar (optional)
1. Preheat the oven to 400°F. Line a baking sheet with parchment paper.
2. Whisk together 1 cup of the rice milk and the cider vinegar. Set aside.
3. In a large bowl, whisk together the flour mix, xanthan gum, baking powder, granulated sugar, salt, and cinnamon.
4. Add the oats and toss. Add the shortening in pieces, and work in with a pastry blender or two knives until you have a pea-sized crumb.
5. Add the cherries, tossing until combined.
6. Add the rice milk mixture and stir with a wooden spoon until combined but still clumpy.
7. Flour a work surface lightly with a little gluten-free flour mix, and turn out the dough. Lightly flour your hands. Sprinkle the dough with a little flour mix.
8. Divide the dough in half. The dough will be sticky. Shape into two 6-inch disks. Cut the disks into 6 pie-shaped wedges. Transfer the scones to the baking sheet. Brush with the remaining 2 tablespoons rice milk, then sprinkle with sanding sugar.
9. Bake in the center of the oven for 17 minutes, or until lightly golden.
10. Serve warm from the oven, or let cool on a cooling rack.
Reprinted with permission from The Allergen-Free Baker’s Handbook: How to Bake Without Gluten, Wheat, Dairy, Eggs, Soy, Peanuts, Tree Nuts, and Sesame. Copyright © 2009 by Cybele Pascal, Celestial Arts, an imprint of the Crown Publishing Group, Berkeley, CA. Photo credit: Chugrad McAndrews.