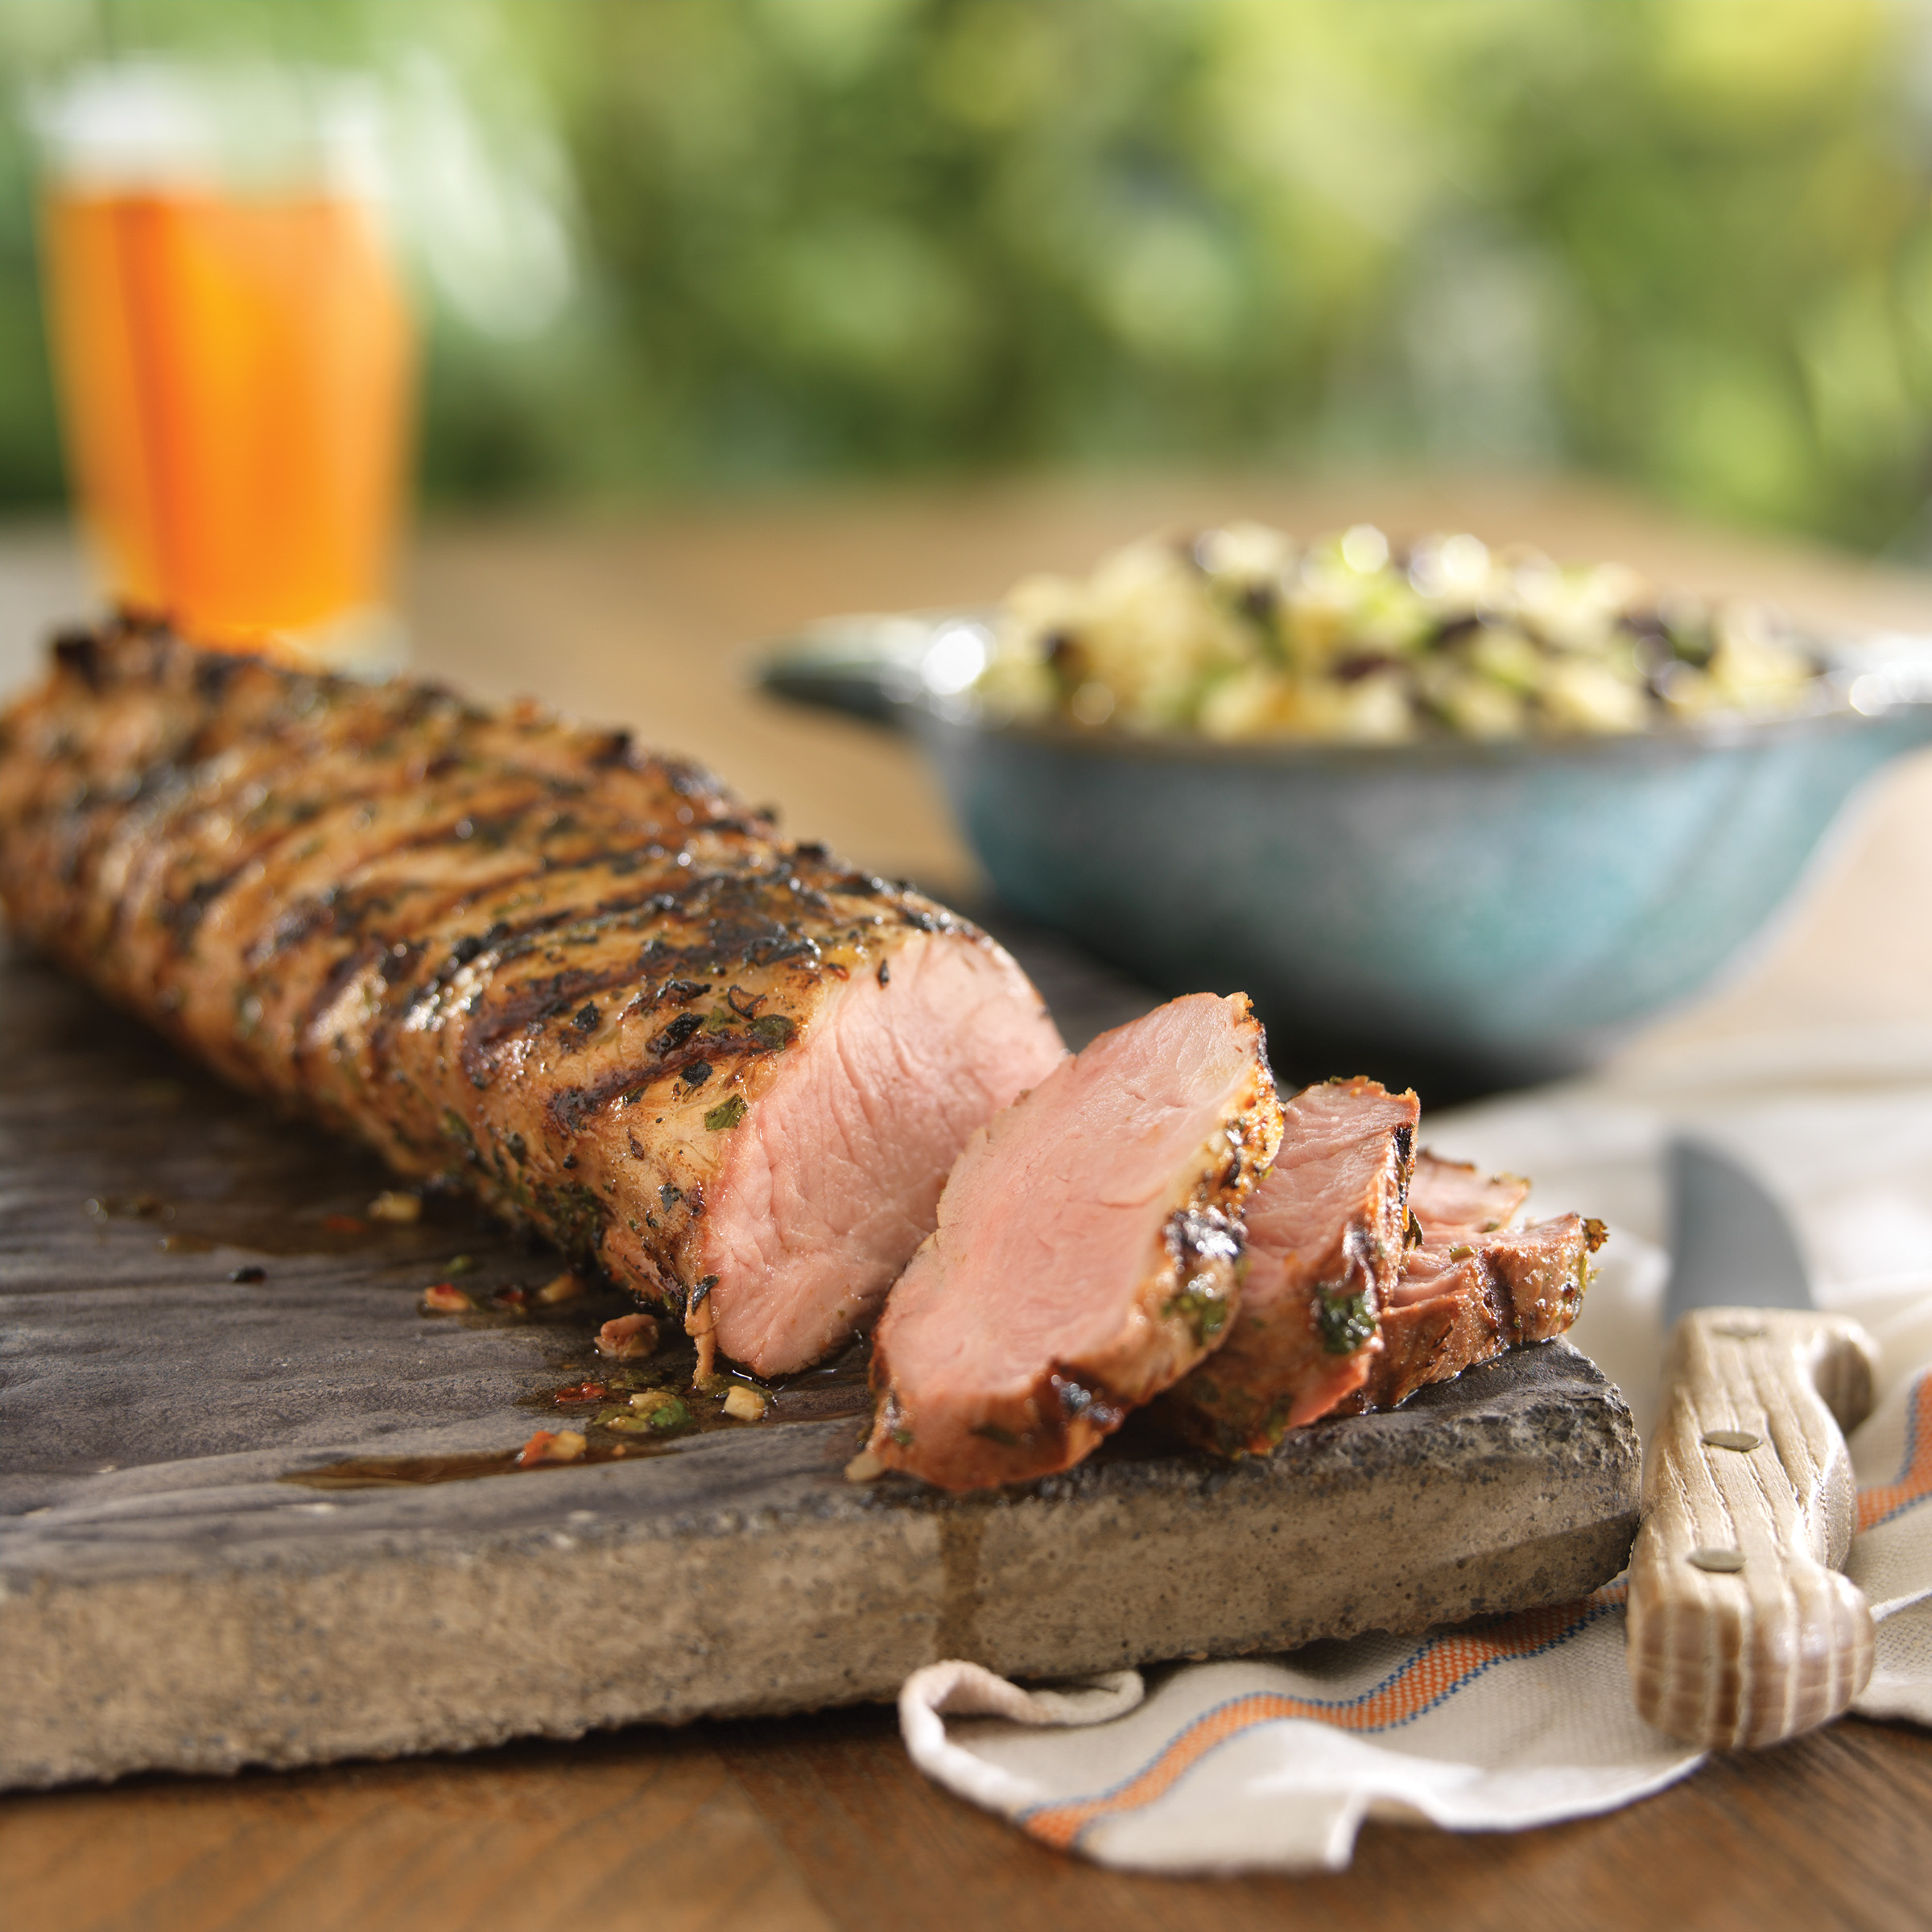
Grilled Tuscan Pork Loin
Grilled Tuscan Pork Loin
Makes 6 servings
Free From gluten and all top 8 allergens
Enjoy summer dining al fresco with this Italian-inspired entrée. It pairs beautifully with panzanella (recipe coming later this week), a fresh tomato, basil and bread salad that can be prepared on the barbecue, right alongside the pork, with your favorite crusty gluten-free loaf. Also great with my Grilled Corn and Avocado Salad or my Allergy-Friendly Focaccia and simple greens.
Ingredients
2 1 lb pork tenderloins
1½ tbsp minced garlic (5 or 6 cloves)
1 tbsp chopped fresh rosemary
2 tsp chopped fresh thyme
1½ tsp grated lemon zest
½ tsp rubbed sage
½ cup fresh-squeezed lemon juice (4 lemons)
¼ cup honey
1 tbsp kosher salt
few turns freshly ground black pepper
¼ cup extra-virgin olive oil
1. Rinse tenderloins and pat dry. Trim off silver membrane and place in a sealable 1-gallon plastic bag.
2. Combine garlic, rosemary, thyme, zest and sage in a small bowl. Whisk in lemon juice and honey until dissolved. Add salt and pepper. Slowly whisk in olive oil. Pour mixture into tenderloin bag. Squeeze out air and seal. Turn to ensure meat is well coated. Let marinate in refrigerator 4 hours or optimally overnight.
3. Remove pork from refrigerator. Heat grill on medium-high 10-15 minutes. Brush grates liberally with oil.
4. Pull tenderloins from marinade and place on preheated grill. Grill 4 minutes, lid closed, flip, grill 4 minutes, lid closed. Flip again, and grill 4 minutes, lid closed. Flip pork one more time, turn off heat, close lid and let rest on grill 6 minutes.
5. Transfer pork to a platter and let rest 5 minutes. Carve into ½-inch slices against the grain. It will be light pink in the center but well done on the ends. Serve with juices that have collected.
Grilled Tuscan Pork Loin © 2014 by Cybele Pascal
This recipe first appeared in the Summer 2014 issue of Allergic Living Magazine
Gluten Free Pot Stickers for Chinese New Year

In honor of Chinese New Year 2012, I thought I’d finally post this glorious recipe for Gluten-Free Gingery Pork Pot Stickers from Laura B. Russell’s new cookbook, The Gluten-Free Asian Kitchen: Recipes for Noodles, Dumplings, Sauces, and More, from Ten Speed Press(my publisher too!) I’ve had this book for several months, but in my own crazy frenzy to finish up my new cookbook, I haven’t had a chance to crack open anyone else’s, much less, try their recipes. Until now. And let me tell you how excited I am to get started cooking my way through this book.
First of all, I don’t often have serious cravings, but when I do, they are for Asian food. But so much of Asian cuisine is off limits to me, between my wheat allergy, my shellfish allergy, my fish allergy, and my tree nut allergy. Gluten-free Asian food is often very hard to find, even if you can work your way around the other ingredients. Which makes this cookbook so special. Laura’s beautiful collection is the first gluten-free cookbook to focus exclusively on Asian cuisine, highlighting the delacacies of China, Japan, Korea, Thailand, and Vietnam.
Of particular note in The Gluten-Free Asian Kitchen is the helpful “Identifying Gluten Section”, which walks you through all the places you might find gluten hiding in your Asian food. There is also a comprehensive sauce section, a really good guide to stocking your pantry, and one gorgeous photograph after another (styled by the brilliant Karen Shinto, who also styles my cookbooks). I can’t wait to try the Porcupine Balls (p.48), the Red Curry Soup with Chicken and Rice Noodles (p.87), and the Yakuza Cucumber and Avocado Salad (p.119). Literally, every page has me drooling.
A note to the soy allergic: this book is not for you. All others, I’m pretty sure you’ll be able to find many exciting new recipes, that have heretofore been off limits to you. Thank you, Laura, for writing such a lovely book!
Gingery Pork Pot Stickers

makes 28 dumplings
1/2 cup tapioca flour (also called tapioca starch)
1/2 cup millet flour
1/2 cup sweet rice flour, plus plenty more for rolling out the dough
11/2 teaspoons xanthan gum
3/4 teaspoon salt, divided
1/2 cup boiling water
2 tablespoons cold water
3/4 pound ground pork
3 green onions, white and green parts, minced
1 tablespoon minced fresh ginger
2 teaspoons soy sauce or tamari GF
1/2 teaspoon toasted sesame oil
1/4 teaspoon freshly ground black pepper
3 tablespoons vegetable oil, divided
Soy Vinegar Dipping Sauce (page 26), for serving
To make the dough, stir together the tapioca flour, millet flour, sweet rice flour, xanthan gum, and 1/2 teaspoon salt in a bowl. Add the just-boiled water and stir with a fork to combine. Add the cold water and mix well until a dough starts to form. Use your hands to knead the dough together a few times—you can do this right in the bowl—and then form the dough into two balls. Transfer the dough to a large resealable bag until ready to use, up to several hours.
In a second bowl, combine the raw pork, green onions, ginger, soy sauce, sesame oil, remaining 1/4 teaspoon salt, and pepper. Mix well to combine.
To form the dumplings, dust your hands, the counter, and a baking sheet with sweet rice flour. Roll one piece of the dough into a long rope, about 3/4 inch thick. Cut the dough into 14 pieces and put them back into the resealable bag. Repeat with the other ball of dough for a total of 28 pieces. The dough will dry out quickly; make sure it stays covered.
Keep plenty of sweet rice flour nearby (up to 1/2 cup) for dusting the counter and the rolling pin to prevent the dough from sticking. Working with one piece of dough at a time, flatten the dough into a circle with the heel of your hand. Using a small rolling pin—a small dowel works best—roll the dough into a 3- to 31/2-inch circle, turning the dough periodically to prevent sticking. (Alternately, put the dough between two pieces of plastic wrap and roll it into a circle.) Transfer the dumpling wrappers to the prepared baking sheet. Repeat with the remaining dough. (If you run out of space on the baking sheet, make a second layer separated by plastic wrap.)
Dust a dinner plate with sweet rice flour. Spoon a scant tablespoon of filling into the center of each wrapper. Dip two fingers in a small bowl of water and run them around half the circumference of each circle. (This is so the wet side can stick to the dry side.) Lift the sides, forming a half-moon shape around the filling; keep the bottom flat against your hand or the counter. Pinch the dough together at the top and then form two or three pleats along each side; press to seal. (Alternatively, if you have a dumpling press, use it to form and seal the dumplings.) Transfer the dumplings to the prepared plate. Cover tightly with plastic wrap and refrigerate until ready to cook, up to 4 hours ahead.
In a large nonstick frying pan, heat 11/2 tablespoons of the oil over medium-high heat. Add half the dumplings to the pan and cook until browned on the bottom, 2 to 3 minutes. Holding the pan lid in one hand (to control splattering), add ?1/3 cup water to the pan and immediately cover it. Lower the heat to low and steam the dumplings until cooked through, ?8 to 10 minutes. Remove the lid and raise the heat to medium. Cook until the water evaporates and the bottoms of the dumplings are well browned, about 2 minutes longer. Repeat with the remaining dumplings and oil. Serve hot with the dipping sauce or a bowl of soy sauce GF.
Note: If you do not plan on eating the dumplings all at once (reheating them is fine, not great), freeze some of the uncooked dumplings for later. Freeze the dumplings on a plate or tray before transferring them to a freezer bag to keep them from sticking together. Add the dumplings to the pan straight from the freezer and increase the steaming time by 2 minutes.
heads up
The dish calls for Soy Vinegar Dipping Sauce. You can prepare it up to 1 week ahead.
Soy Vinegar Dipping Sauce
makes about 1/2 cup
1/4 cup soy sauce or tamari GF
3 tablespoons unseasoned rice vinegar
11/2 teaspoons sugar
1 teaspoon toasted sesame oil
2–3 slices fresh jalapeño, or large pinch of red pepper flakes (optional)
Stir together all the ingredients in a small serving bowl. The dipping sauce will keep, covered, in the refrigerator for about 1 week with fresh jalapeño or 2 weeks with red pepper flakes.
Reprinted with permission from The Gluten-Free Asian Kitchen: Recipes for Noodles, Dumplings, Sauces, and More. Copyright © 2011 by Laura B. Russell. Published by Celestial Arts, an imprint of Ten Speed Press and the Crown Publishing Group, Berkeley, CA. Photo Credit: Leo Gong.