Gluten Free Pita Bread
Pita bread is a perennial favorite, but thus far, I hadn’t found a recipe for Gluten-Free, Allergy-Free Vegan Pita Bread. However, I’d been asked for the better part of a year to create just such a recipe, so that those on Gluten Free and Allergy Free diets can dunk, scoop, and stuff their pita pockets, along with the rest of the world.
Why make pita bread yourself? Because it’s fun to make with kids (I still marvel at the magic of yeast activating the rise in fresh bread), it’s tastiest when fresh, and this way you know exactly what went into it. Additionally, making gluten-free breads is actually easier than baking traditional wheat bread. I know that might seem counter-intuitive, but because gluten-free breads require only one rise, the total time is cut in half. Gluten-free breads also don’t require any kneading, another time-saver bonus!
Gluten Free Pita Bread
Makes 8 Pita Pockets
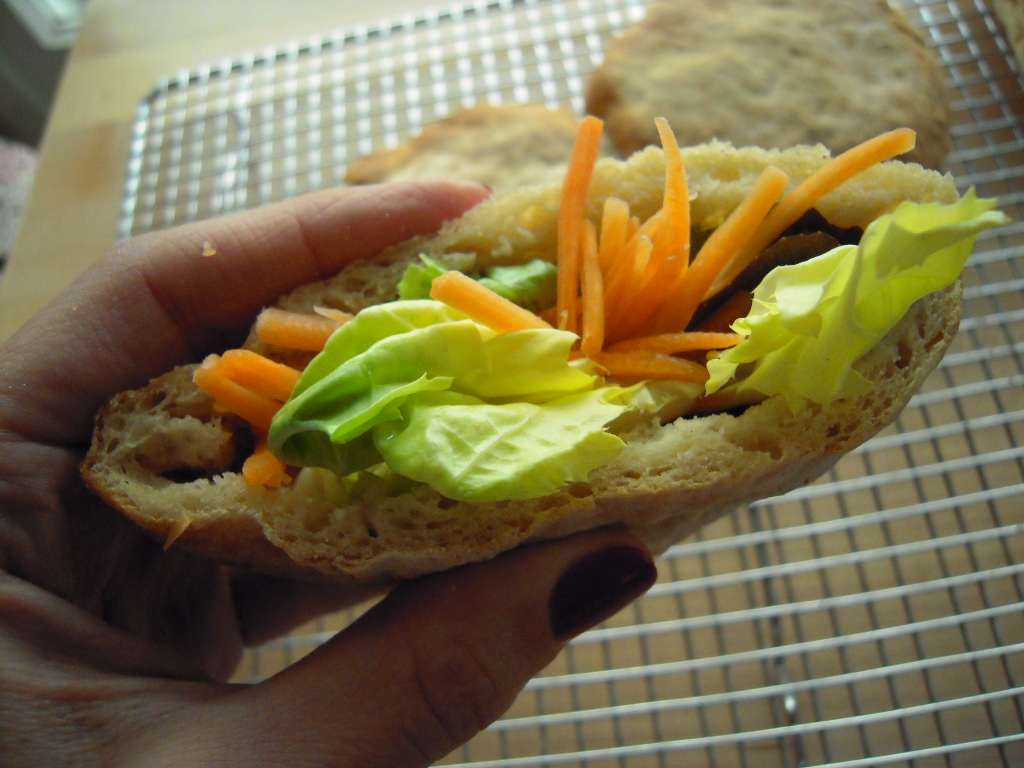
Every sandwich is a little sweeter with pita. And who doesn’t love stuffing a pocket with hummus and veggies? Or dunking pita triangles? These Pita pockets are delicious, and cute. Be sure to use rapid-rise yeast, and don’t rush the rise. Enjoy!
- 1 cup + 2 Tablespoons warm water (110°F – 115°F)
- 1 Tablespoon sugar
- 1 packet rapid-rise yeast*
- 3 1/4 cups Gluten-Free Bread Flour Mix (see my recipe here)
- 3 teaspoons xanthan gum (Authentic Foods xanthan gum is corn-free)
- 1 teaspoon salt
- 2 Tablespoons plain coconut milk yogurt (So Delicious)
- 1 Tablespoon olive oil
1. Combine warm water with sugar and rapid-rise yeast in the bowl of a stand mixer fitted with the paddle attachment. Be sure your water isn’t too hot, or it will kill the yeast. Use a thermometer to be sure it’s the right temp! Whisk well, to incorporate the yeast and dissolve the sugar. Let rest about 5 minutes, to “proof”.
2. Measure out the flour mix by spooning it into a dry measuring cup, then leveling with a straightedge. Combine flour mix with xanthan gum and salt, whisking well.
3. Add coconut milk yogurt and olive oil to yeast mixture. Blend on medium speed.
4. Add flour mixture to mixing bowl, and blend on low until incorporated, then medium speed until dough is thoroughly combined, scraping down sides of bowl as necessary. It will be quite sticky.
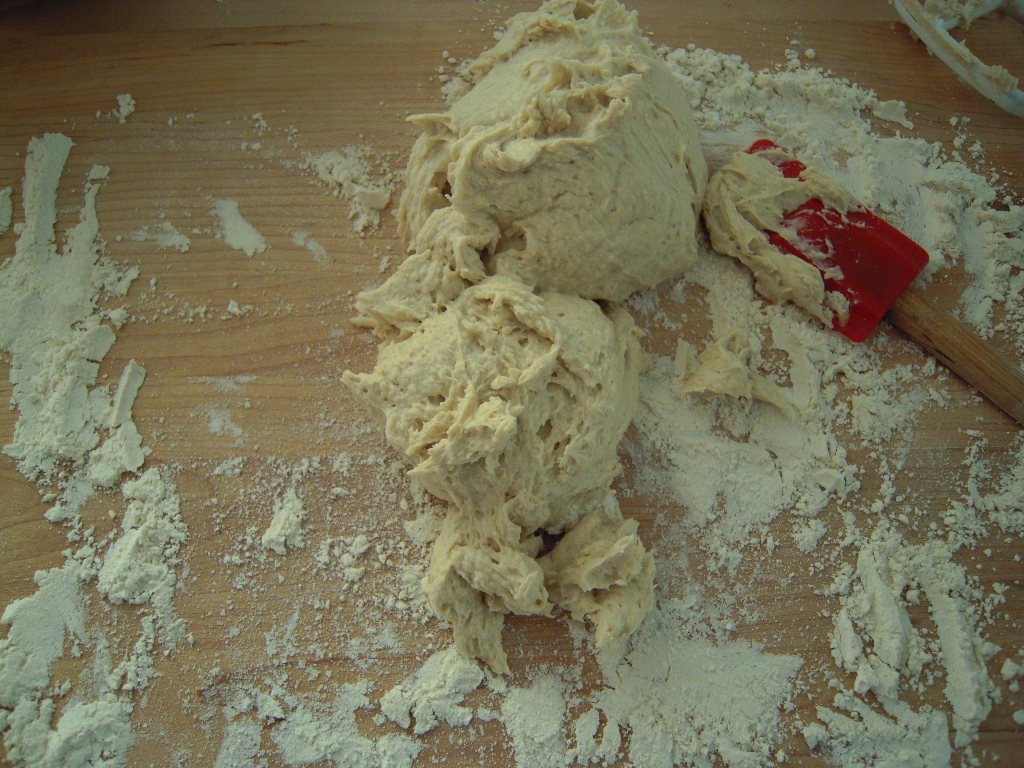
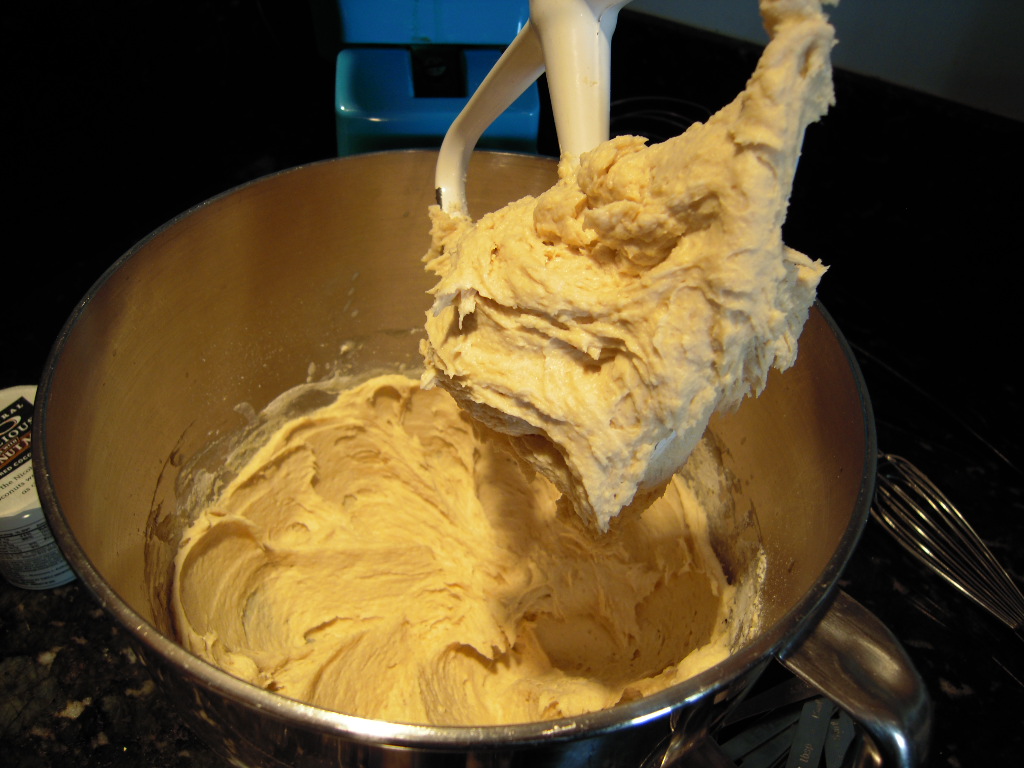 5. Sprinkle a work surface amply with some gf bread flour mix. Use a rubber spatula to turn out dough onto work surface.
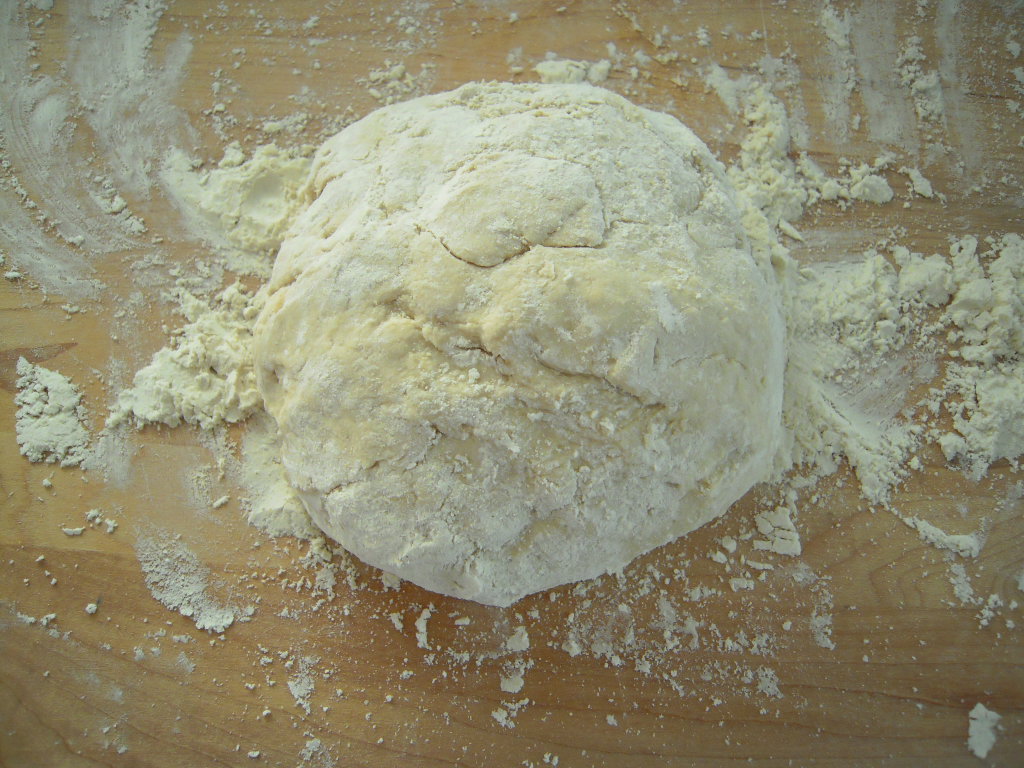
6. Dust hands with a little flour mix, and sprinkle dough with a bit more. Mold into a ball.
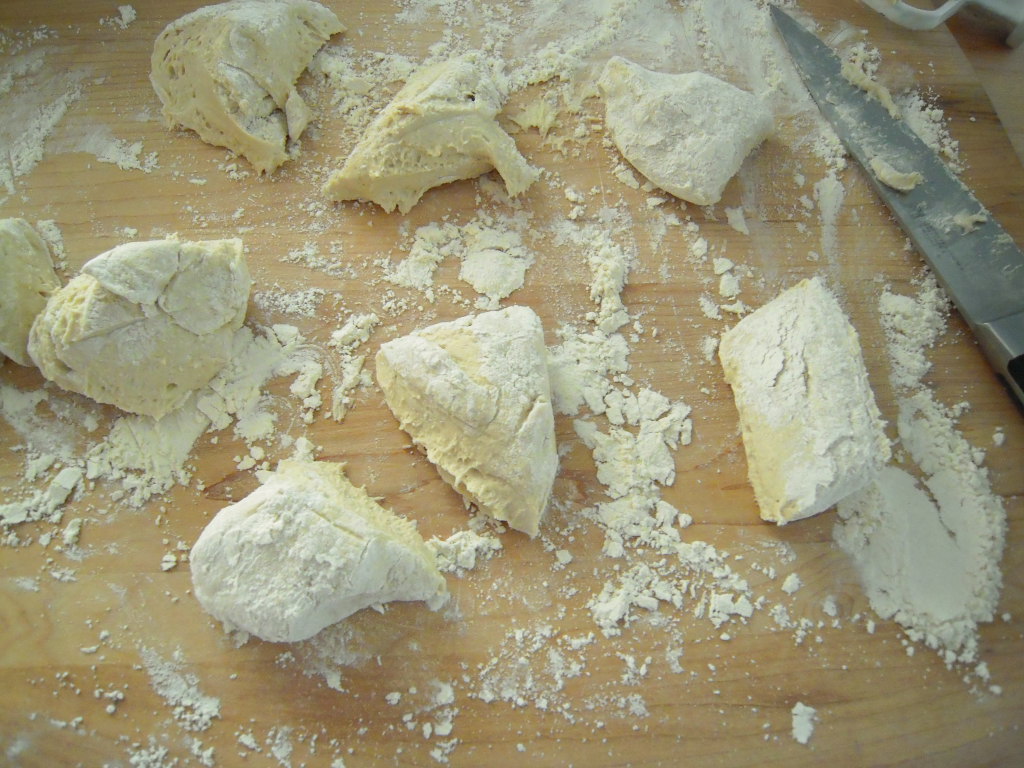
7. Cut into quarters, then cut quarters in half, for a total of 8 pieces. Sprinkle with a little flour mix, then roll into balls.
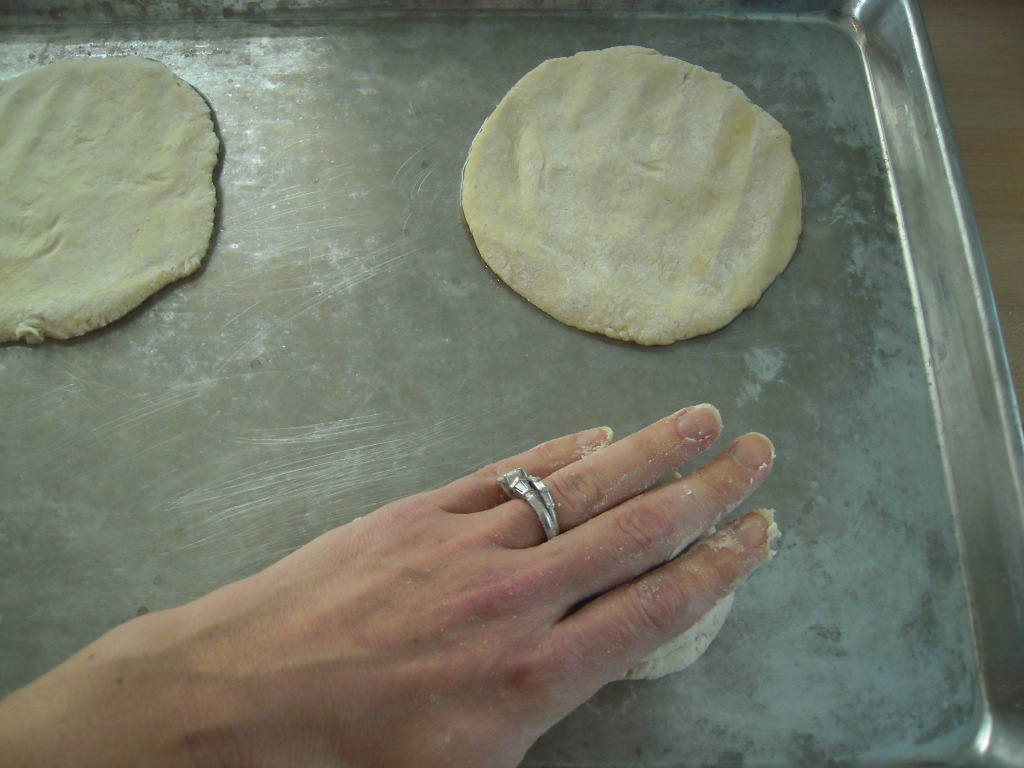
8. Grease 2 baking trays well with olive oil. I use a pastry brush to be sure it’s evenly distributed. Transfer 4 balls to each tray. Use the palm of your hand to flatten the balls into 5 1/2 -inch rounds. Use fingers to shape edges as necessary.
9. Adjust oven racks to two lowest positions in oven. Fill a baking pan with very hot water and place on bottom of oven.Cover trays with plastic wrap. Place in oven and let rise about 1 hour till pockets are starting to form. You will probably want to change your hot water once halfway through. Remove trays from oven. Set aside. Remove pan of hot water from oven.
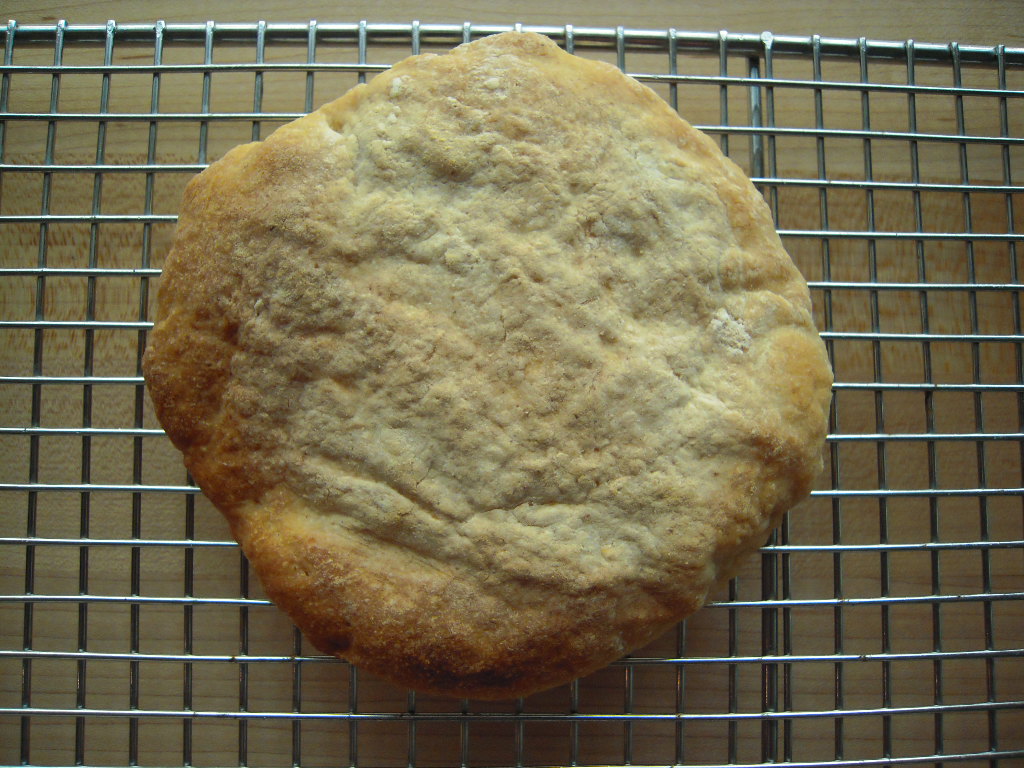
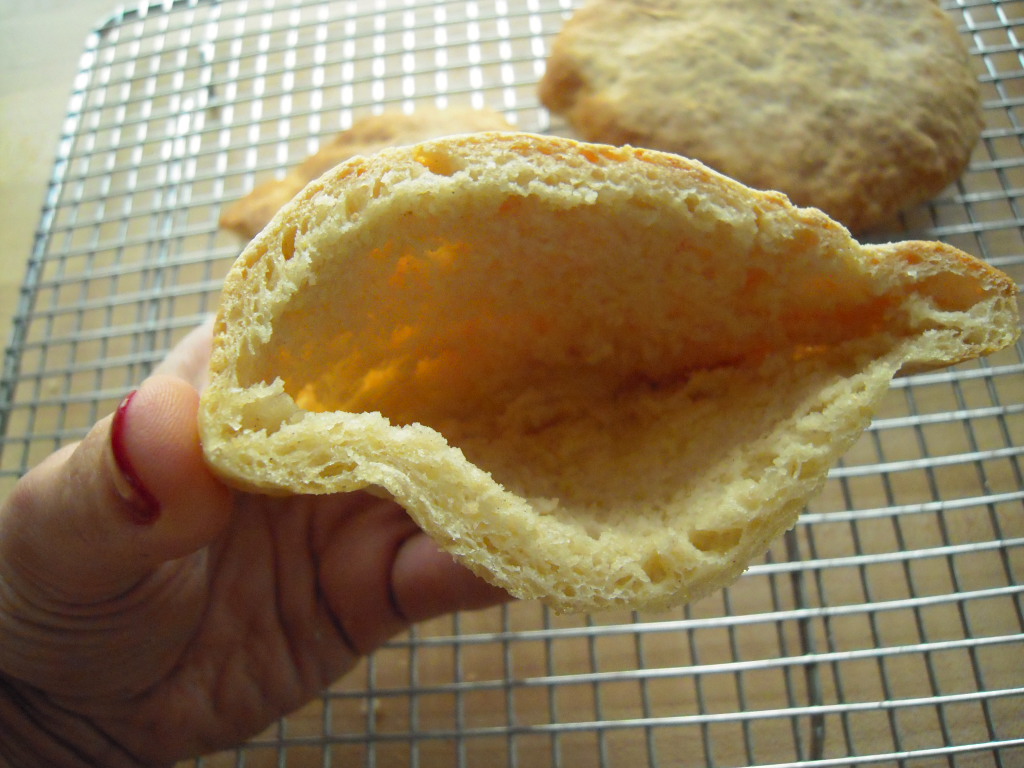
10. Preheat oven to 500°F. Bake pitas one tray at a time on lowest rack in oven, 10 minutes, till golden brown. Remove from oven, transfer from baking tray to cooling rack. They will be hard at first. Let rest about 10 minutes. The steam will finish the pocket making process, and they will soften up a bit.
11. Cut pockets in half. Use a knife to separate pocket if necessary. Best when eaten fresh.
Gluten-Free Pita Bread © 2011 by Cybele Pascal
Some Troubleshooting Tips:
Use a stand mixer with the paddle attachment.
Use rapid rise yeast. This is not the same thing as “Active Dry” yeast. Rapid Rise (also known as “Quick Rise”) yeast only requires one rise, which is all a gf dough can really handle. This recipes timing is based on using RAPID RISE yeast. I like good old Fleischmann’s. It is highly active yeast.
Use a thermometer to be sure your water is 110-115°F.
Be sure your yeast has “proofed”. This looks like ‘foaming” If it hasn’t, the bread won’t rise.
Aerate your flour mix, by shaking it up, or tossing it well. You want it light. When you measure, do not scoop the flour with the measuring cup. Spoon it into your dry measuring cups. then level with a straightedge.
Your dough should be wet and sticky. If it’s not, you need to add a little more warm water, a tiny bit at a time.
Your dough should be very playable. When you press it out onto the baking trays, it should be very soft and easy to work with. See the pics above.
Be sure to add really hot water to the pan in the oven, while the pockets are rising. Do not rush the rise process. Make sure that the pockets are beginning to show bubbles, or a “puff”.The pockets will just about double in thickness for their rise.
Be sure your oven is the right temp.
When they first come out of the oven, they will be hard. They will soften up after about 10 minutes of resting on the cooling rack. The steam helps soften them, and also helps to form that pocket. IF when you cut them in half, the pocket does not fully separate, then use a knife to coax it along (i often do this with store-bought pitas).
Re freezing, I don’t know, i haven’t tried it. Give it a test run (i will too) But as mentioned, these are best when eaten fresh, the day of baking. Remember, they are totally free of any additives, natural or otherwise, that extend shelf life in store bought breads. And like all fresh baked bread, they’ll get stale. Hope that helps! Let me know if you have any further questions.
Please leave a comment here if you have any further questions.
Bake and enjoy!

Thanks Cybele! I can’t wait to try these.
Btw, did you paint your nails while waiting for these to bake? 🙂
You are awesome!!
Hi Nadia:
Why yes, I did! What better use of time while waiting for bread to rise? Funny you noticed!
all best,
Cybele
Please tell me if you have a gluten-free, vegan challah bread recipe. Thank you!
Hi, Julia. Not yet. Hopefully at some point. all best,
Cybele
Thanks, Vee! Hope you enjoy them.
What a great recipe and I’m so glad it’s gluten-free! This pita bread looks delicious! 🙂
Thanks, Kelly!
You are amazing, I have your cookbooks and use them all the time. I would have nothing tasty to feed my 6 year old if you did not do what you do. He has the best lunches at school because of you. He has 13 food allergies which we discovered ( in the emergency room) when he was 10 months old. Most people with allergies and celiac that I talk to refer to eating as “living without” this and that. We don’t. We eat all the things we can with gusto and enjoyment since they taste yummy. The rest of us in the family do not have the allergies but we eat as he eats. We are a much healthier family for it. When I discovered your books, I felt the world lifted off my shoulders and I could get back to the thing I loved to do for my family, which is baking and cooking.
What a well written recipe! Thanks.
Is there a substitution for the yogurt? We don’t usually keep non-dairy yogurt since it’s hard to find here. Would coconut milk work ok?
Any substitutions for yeast? My son has a yeast allergy.
Thanks!
WOW. Just, WOW!!!
I can’t wait to try these out with some Sweet Potato Falafel balls! I have really, really missed pita bread (it’s so great with hummus, too, of course). These look ah-may-zing. 😀
Thanks Cybele.. they look great.. but I am intolerant to yeast and I really miss eating breads.. from your experience, what do you suggest to use as substitute whenever there is a GF bread recipe that calls for yeast? Thanks again 🙂
Hi Shamu:
I don’t have a good substitute. 🙁 I suggest quick breads. Have you seen the new gf cauliflower pizza crust going around on pinterest? That could be great for you!
best,
Cybele
I found this substite. I really hope it works as I found out I’m allergic to yeast as well as wheat, corn and oats. http://frugalliving.about.com/od/condimentsandspices/r/Yeast_Substitut.htm
Please let me know if it works! Thanks for sharing.
best,
cybele
OMG THANK YOU!!!! I was just stressing over my husband requesting pita bread with an upcoming dinner and my kids’ reactions since they can’t have it. But now they can!!! 🙂
Woohoo!!! This looks so absolutely awesome! Can’t wait to try it out! I love pitas with stuff!
I made this recipe today, the pita bread was great. My little ones have really missed dipping pita bread into hummus, thanks so much for the recipe.
Awesome to hear!
I agree with Anne–you are amazing! I have used your cookbook for so long it is falling apart. Like Allison’s son, though, I am allergic to yeast. Any getting around it?
Thanks so much for all you do!
Love the soft smooth texture of your pitas and what a healthy pocket dandwich
THanks Malli! SO happy to hear you like them!
Was curious if the cocunut milk yogurt could be replaced with anything else?
Thank you, really looking forward to trying these!
Ethel
My Sunflower Yogurt, http://www.cybelepascal.com/how-to-make-sunflower-yogurt/ or Ricera rice milk yogurt.
would either work?
best,
Cybele
Can I use a KitchenAid to mix the flour?
sure
Sure. Or a whisk.
best,
Cybele
Hi I’m really hoping to make this recipe, but I need a substitution for the coconut milk yogurt that is still vegan. Would non-dairy milk work? A few people have asked this same question, but you haven’t responded to them. I’m hoping you’ll respond to this one. Thanks. Hope to make these soon.
Hi Dana:
You could try making my recipe for Sunflower Seed Milk Yogurt. http://www.cybelepascal.com/how-to-make-sunflower-yogurt/ Or can you use ricera, rice milk yogurt? I’m assuming soy milk yogurt is out? non-dairy milk won’t be substantial enough. Let me know what you avoid, and I can probably help you further.
best,
Cybele
I don’t have a stand mixer.Could I still make these?Thanks! Karen
Yes. That will be fine.
That’s amazing post, I love this..Oh I love eating and cooking lol. The pics make my mouth wet. I would love to learn those.Thanks for sharing.
thanks Anonymous!
[…] 1 part water. Jenn Cuisine – A fellow rally-er, and her tips on making good GF pita bread Cybele Pascal and another gf pita recipe that I found […]
[…] gluten-free avocado, lettuce and tomato pitas try this allergen-free pita bread recipe by Cybele Pascal or this popular gluten-free pita bread recipe (use milk alternative in place of […]
I was wondering does it have to be mixed in mixer? Or can I knead it?
Sorry for delay. You can knead it. But because it has no gluten, it doesn’t need to be kneaded! 🙂